Create Droplet
Last updated: March 4, 2026
This guide walks through creating a Droplet from the DigitalOcean dashboard and completing the initial SSH/user setup.
All screenshots are loaded from digitalocean/images/droplet/.
Prerequisites
- DigitalOcean account with billing enabled
- SSH key pair on your local machine
- Terminal access on your local machine
Generate SSH key if needed:
ssh-keygen -t ed25519 -C "your-email@example.com"
cat ~/.ssh/id_ed25519.pub
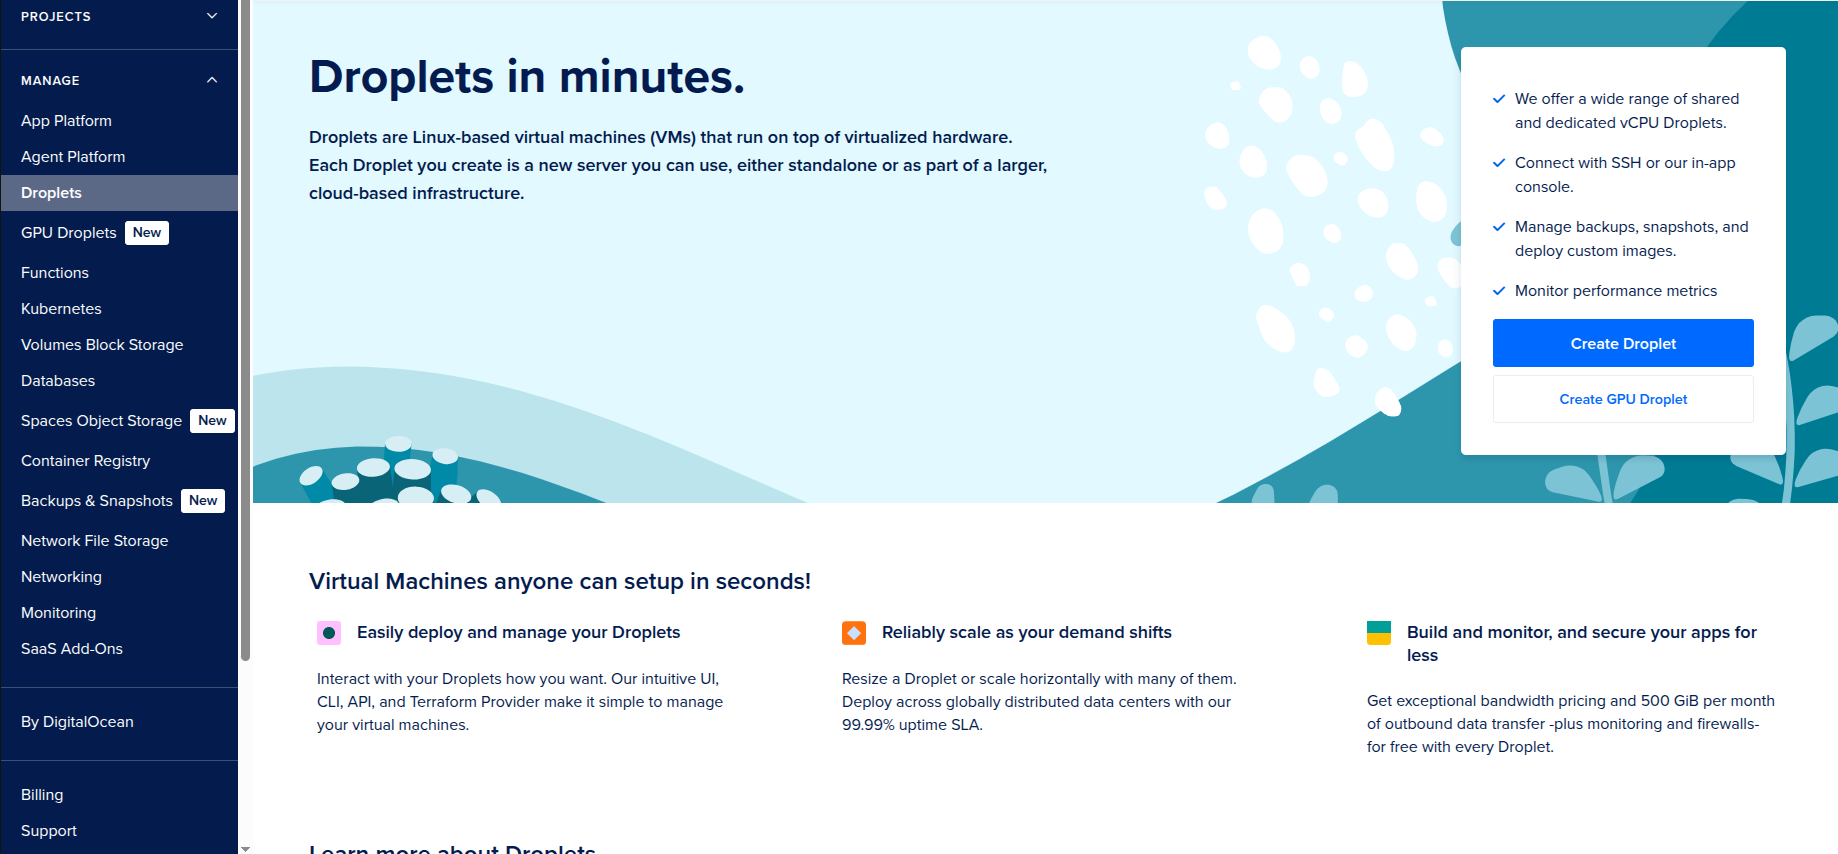
1. Open Droplets and Start Creation
- Log in to DigitalOcean dashboard.
- Open
Dropletsfrom the left menu. - Click
Create Droplet.
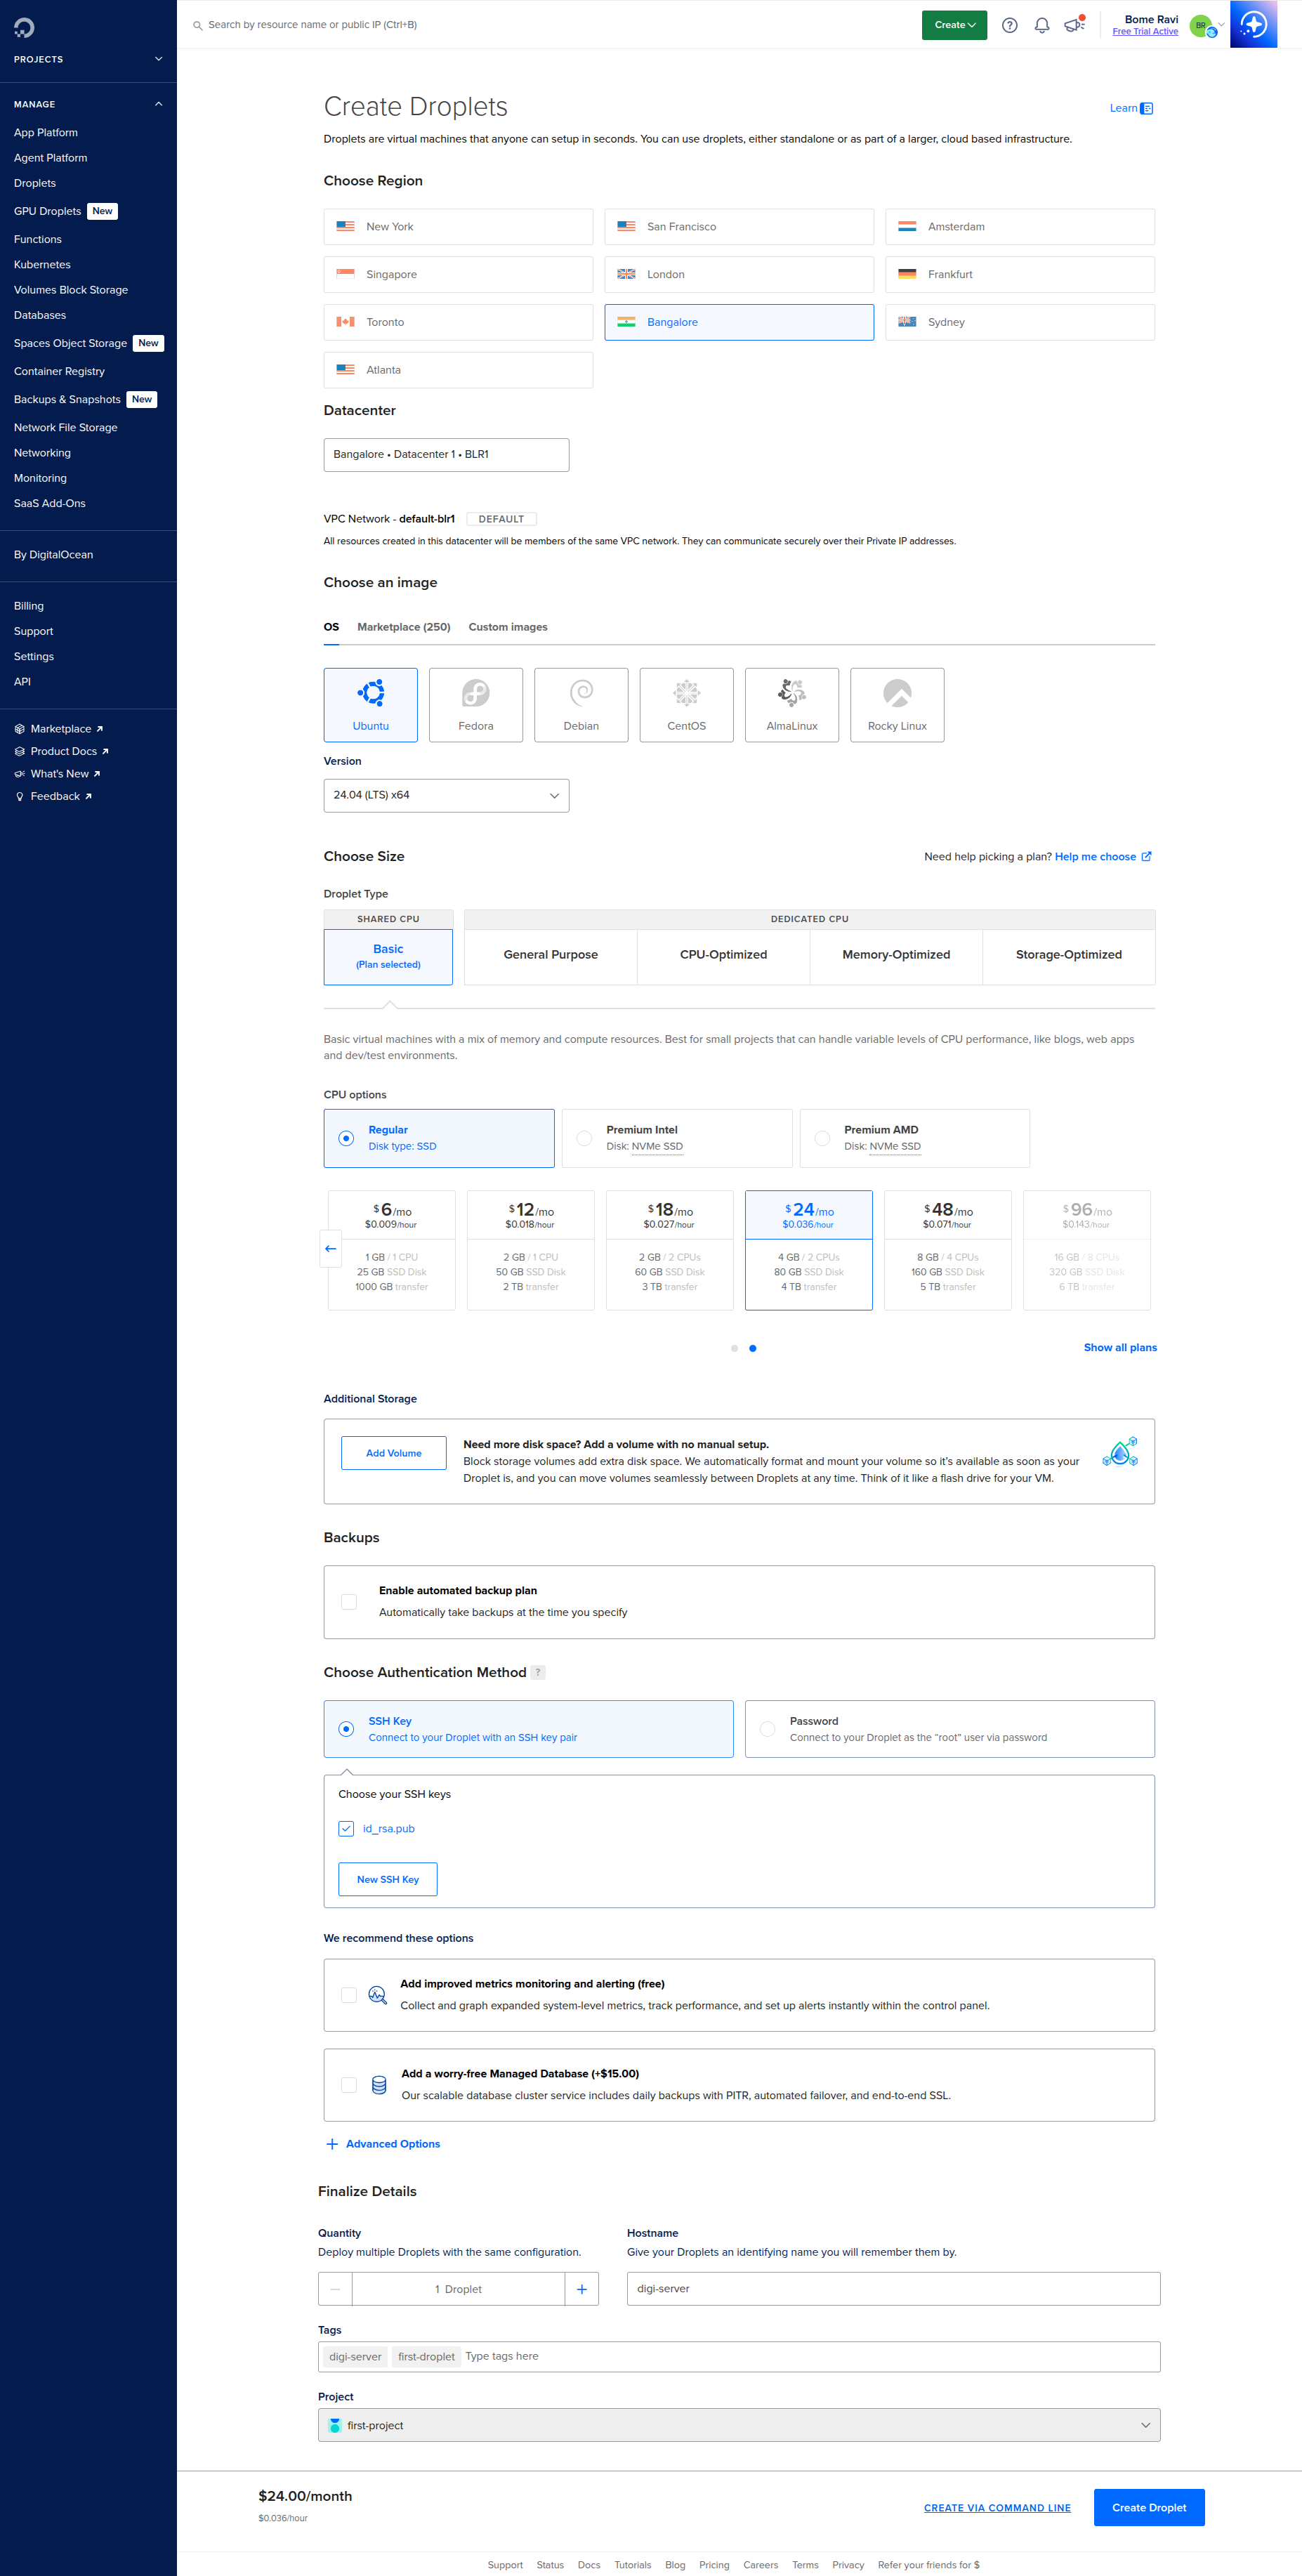
2. Configure Droplet Options
On the create form, configure:
- Region and datacenter
- Image (for example
Ubuntu 24.04 LTS) - Size/plan (CPU/RAM)
- Authentication method (
SSH Keyrecommended) - Optional: backups, monitoring, tags, hostname
Then click Create Droplet.
3. Wait for Provisioning
After creation, the Droplet appears in the list and starts provisioning.
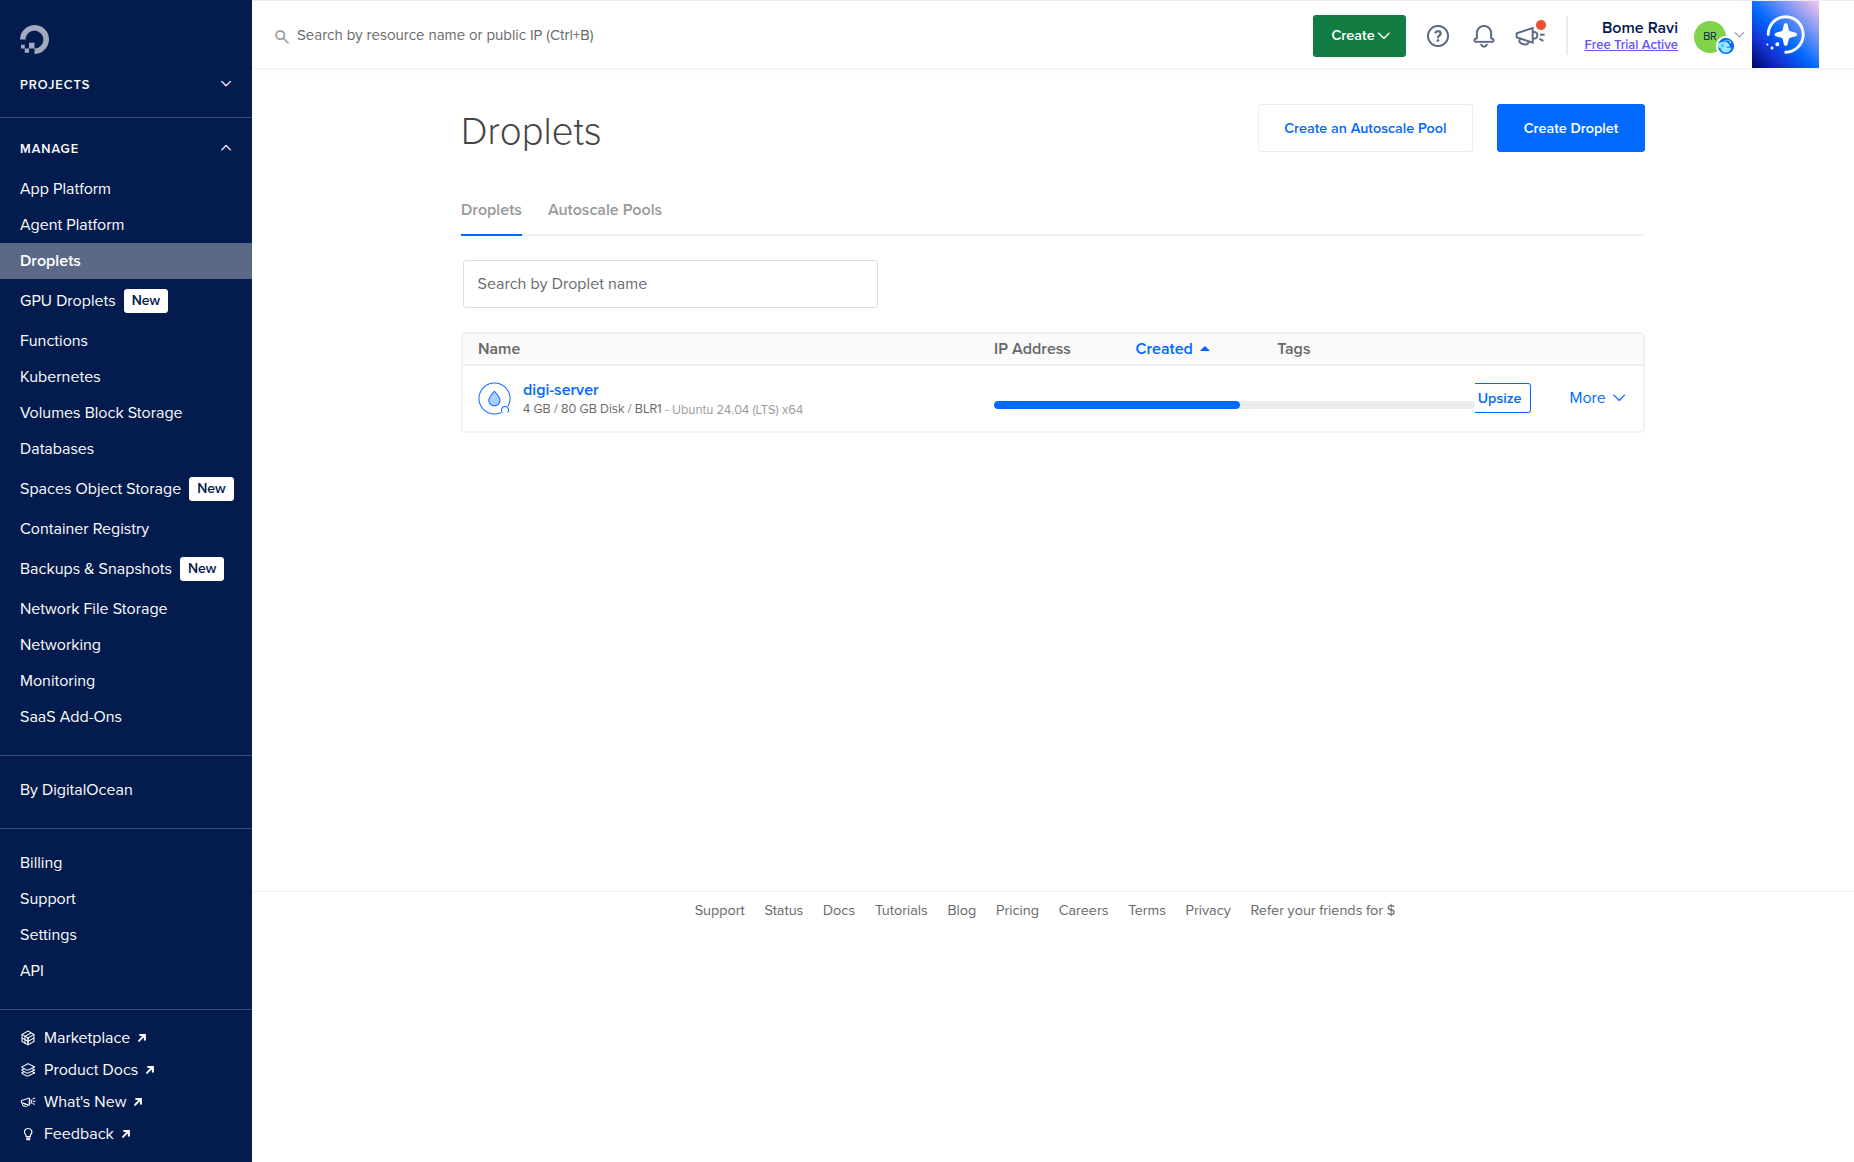
4. Confirm Droplet Is Ready and Copy Public IP
When status is ready, copy the public IPv4 address.

5. SSH Login as Root (First Login)
Connect from your local machine:
ssh root@<DROPLET_PUBLIC_IP>
If your key file is custom:
ssh -i ~/.ssh/<your_private_key> root@<DROPLET_PUBLIC_IP>

6. Create a Non-Root Sudo User
Create user and grant sudo access:
adduser ubuntu
usermod -aG sudo ubuntu

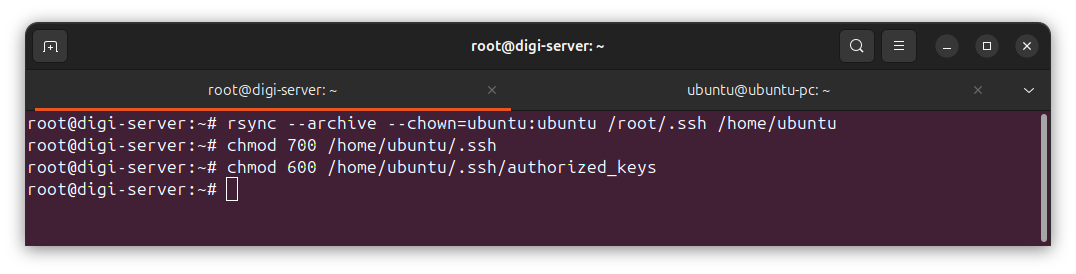
7. Copy Root SSH Authorized Keys to New User
Copy SSH access so the new user can log in with keys:
rsync --archive --chown=ubuntu:ubuntu /root/.ssh /home/ubuntu
chmod 700 /home/ubuntu/.ssh
chmod 600 /home/ubuntu/.ssh/authorized_keys
8. Verify New User Login
From local machine, open a new terminal and test:
ssh ubuntu@<DROPLET_PUBLIC_IP>
If successful, you can continue hardening:
Optional Initial Updates
sudo apt update && sudo apt upgrade -y