Space Object Storage (DigitalOcean Spaces)
Last updated: March 4, 2026
This guide covers creating and connecting a DigitalOcean Spaces bucket for file/object storage.
All screenshots are loaded from digitalocean/images/bucket/.
Prerequisites
- DigitalOcean account with billing enabled
- A project where the Space will be created
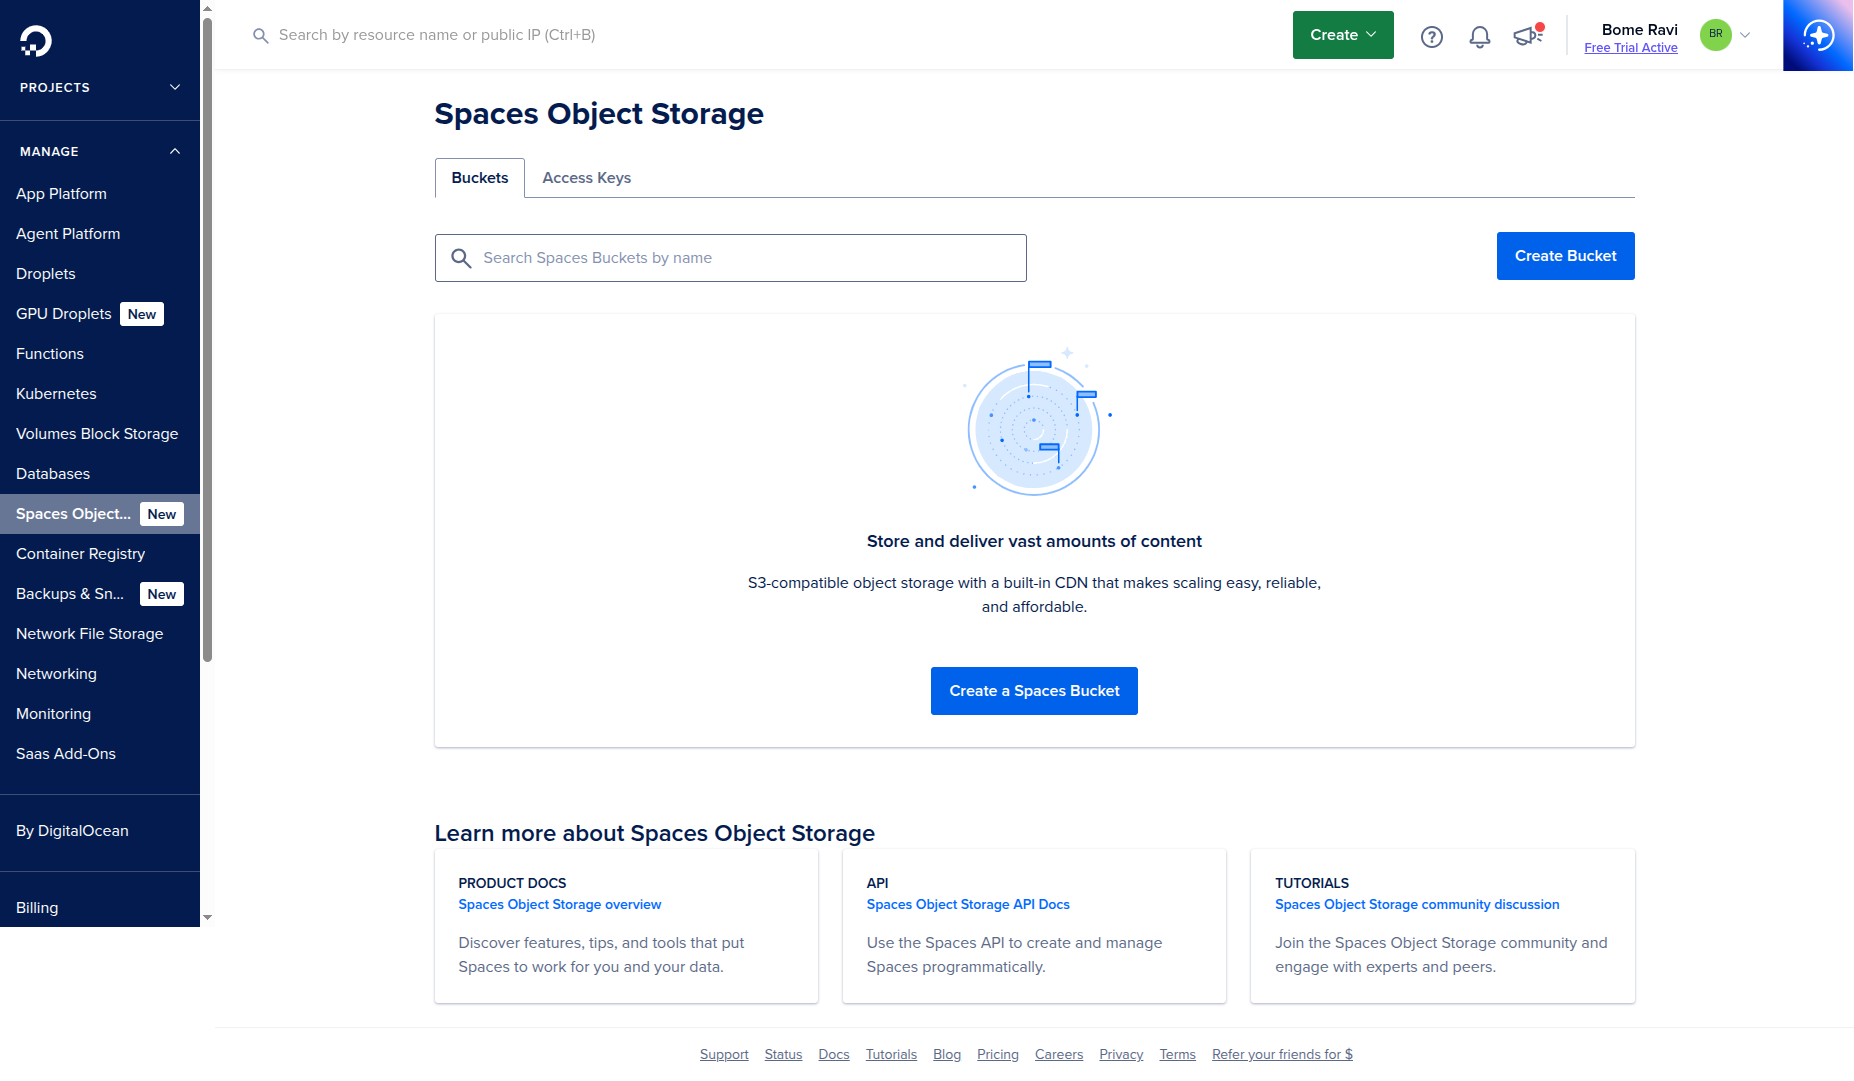
1. Open Spaces Object Storage
- Open DigitalOcean dashboard.
- Go to
Spaces Object Storagefrom the left sidebar.
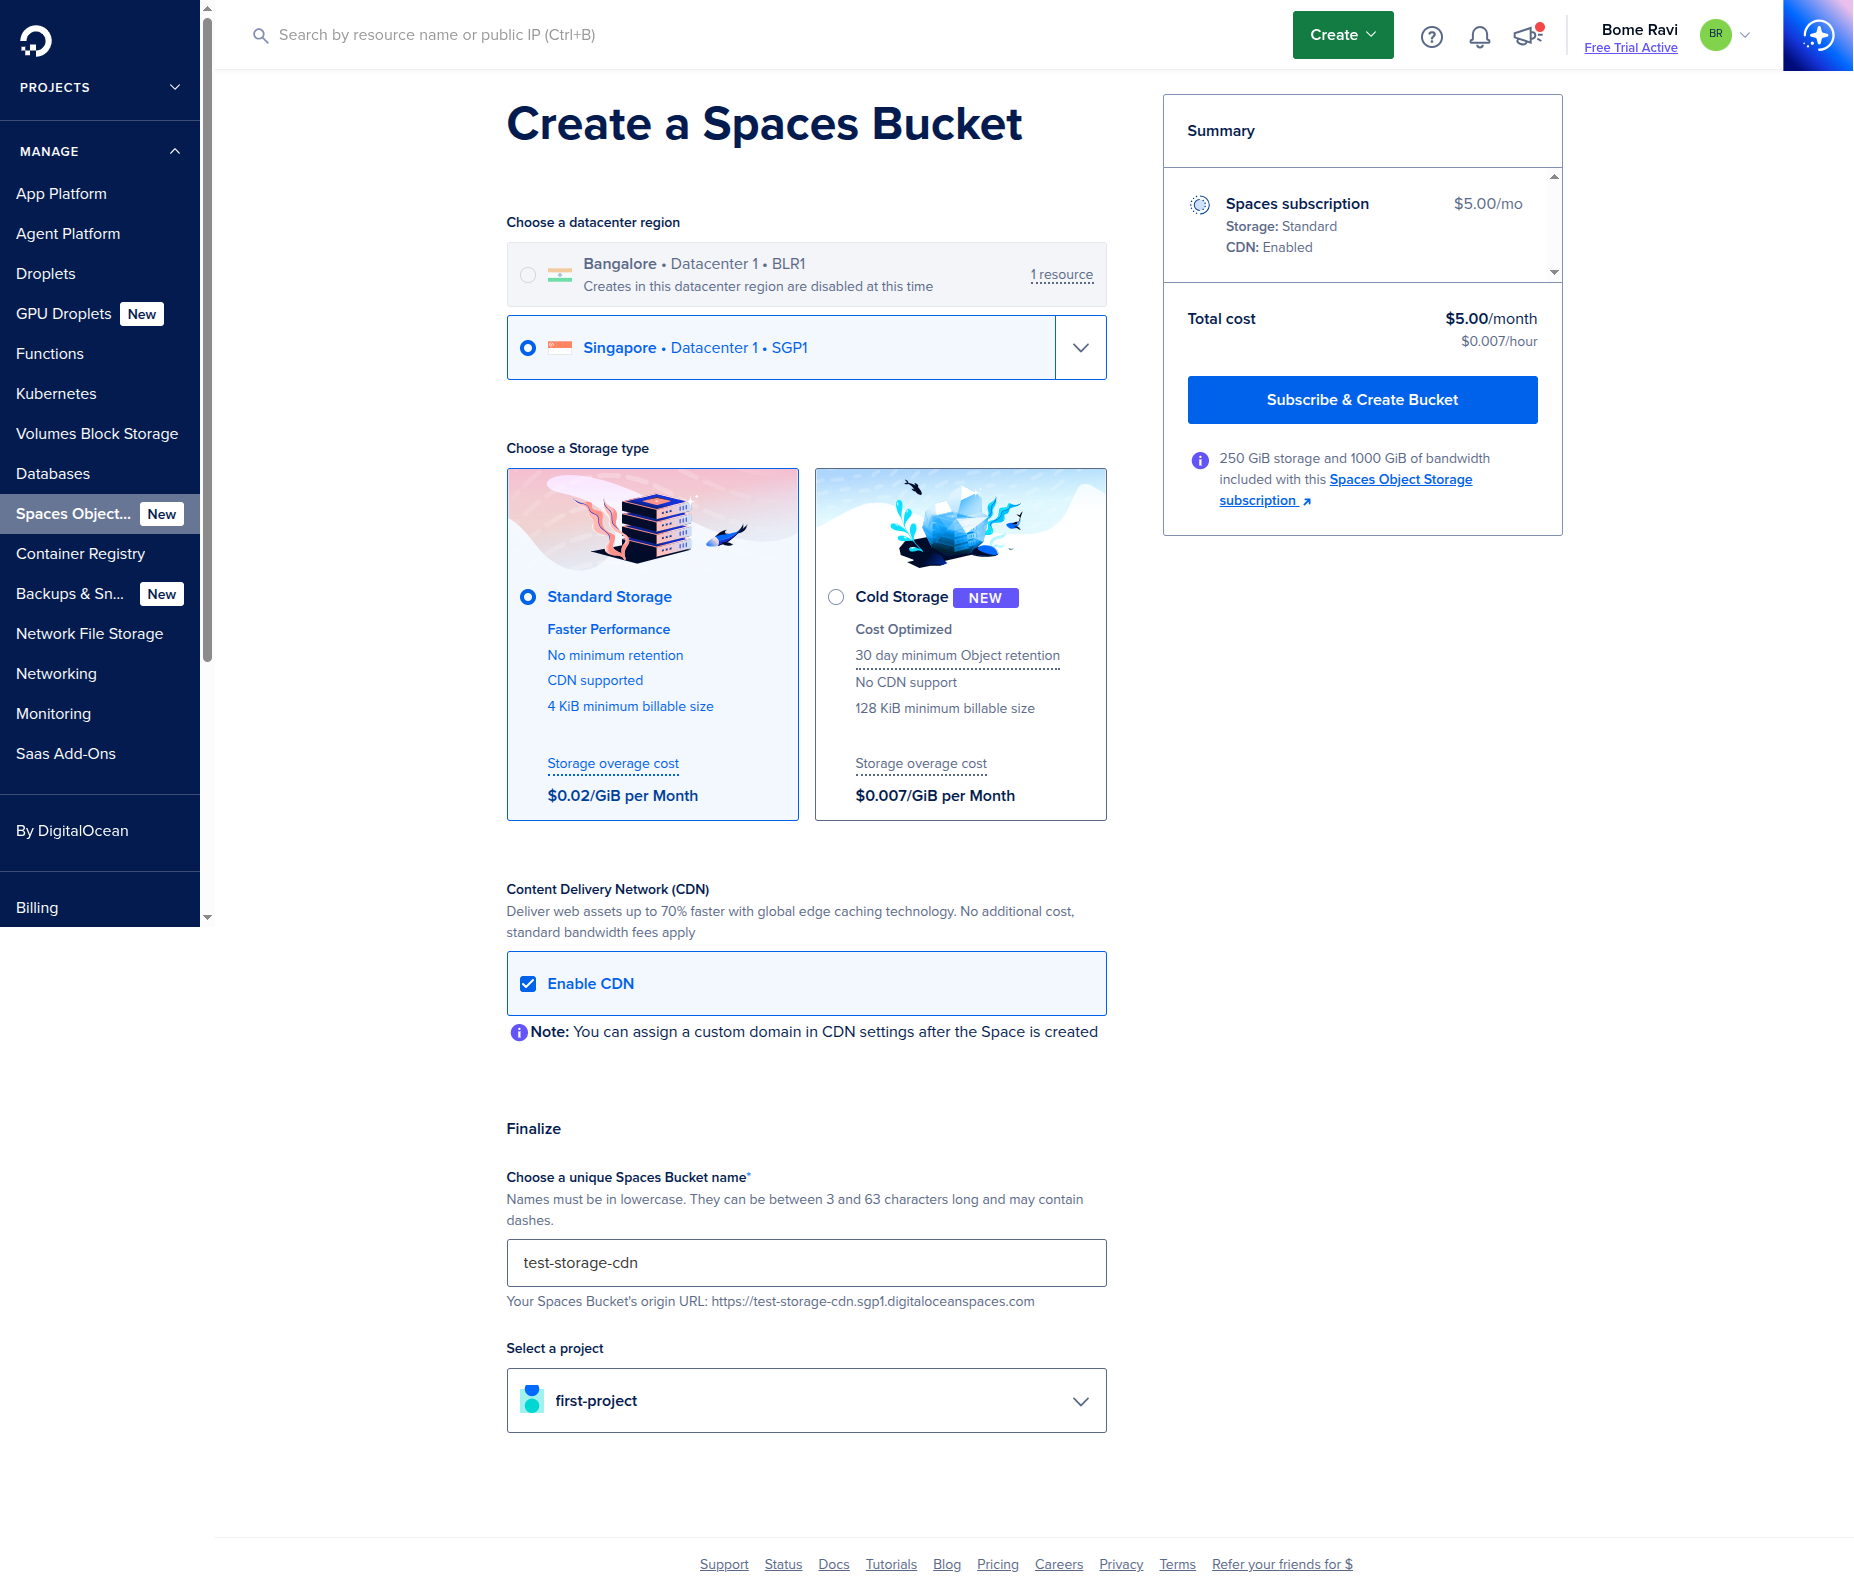
2. Create a New Space
- Click
Create Bucket(orCreate a Spaces Bucket). - Select:
- Datacenter region (pick close to your app server)
- Space name (globally unique)
- Access type (
Restrict File Listingfor private-by-default)
- Click
Create Space.
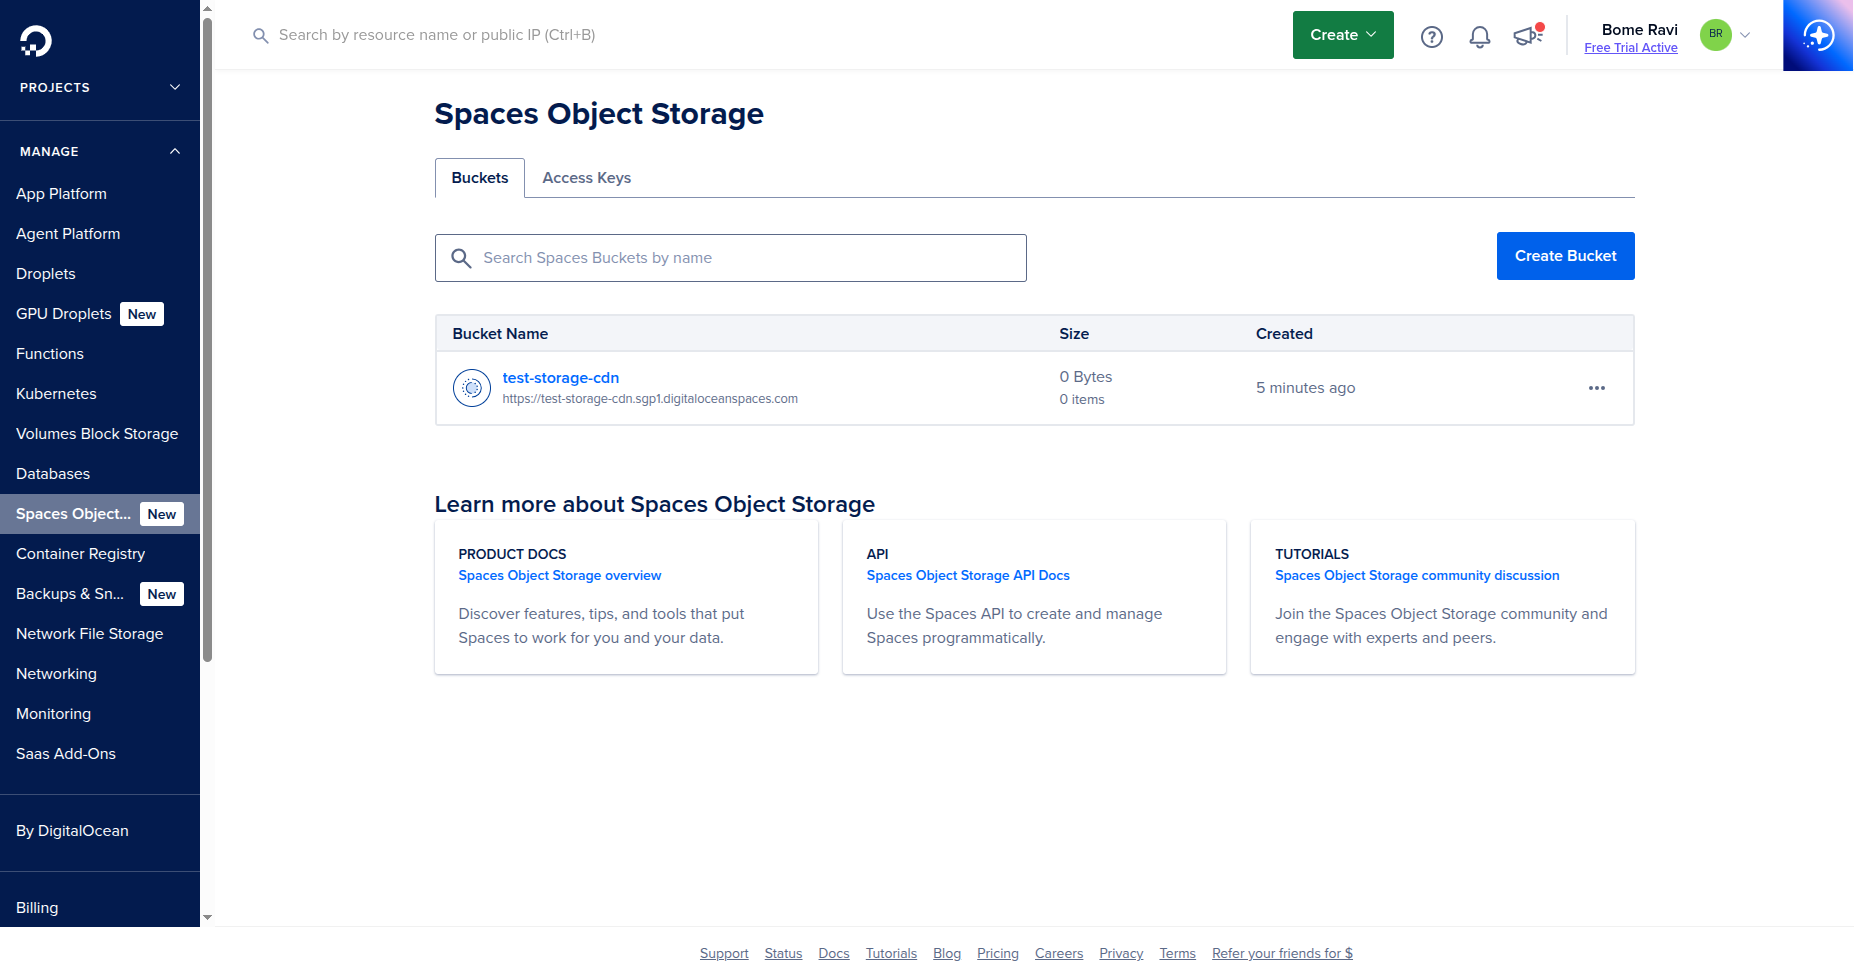
After creation, verify your bucket appears in the list.
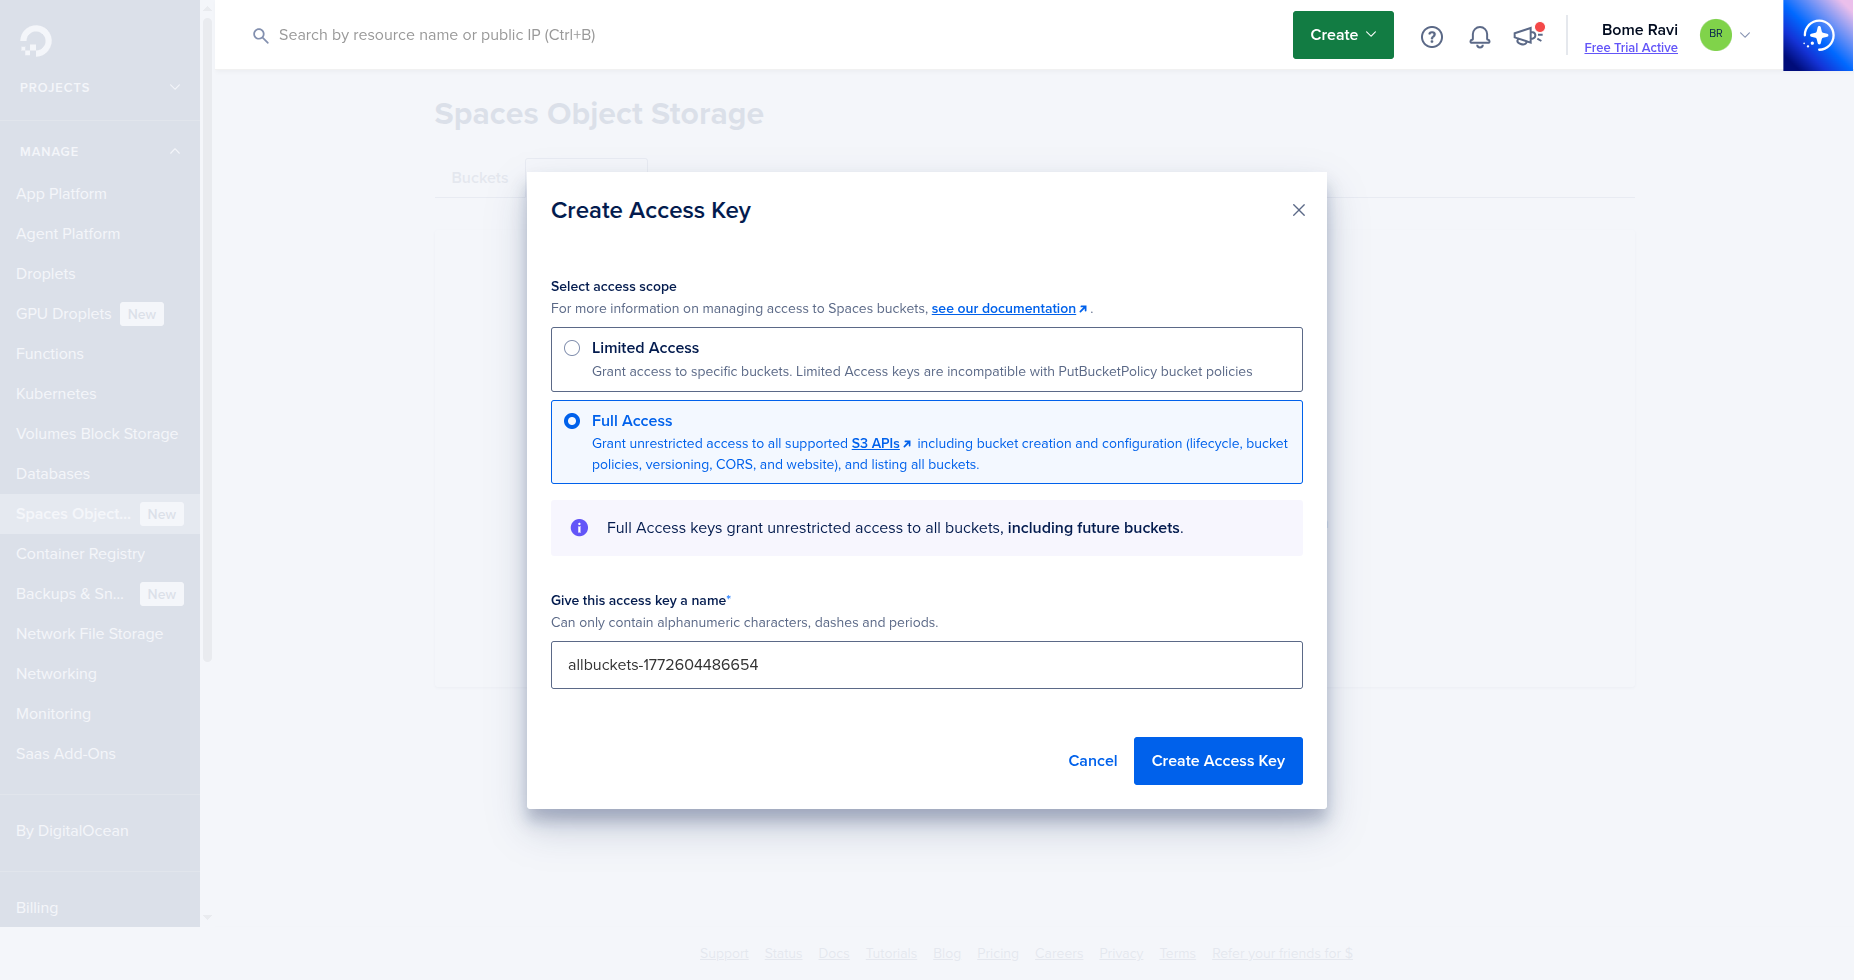
3. Generate Access Keys
- In dashboard, open
API->Spaces Keys. - On the
Access Keystab, clickCreate Access Key.
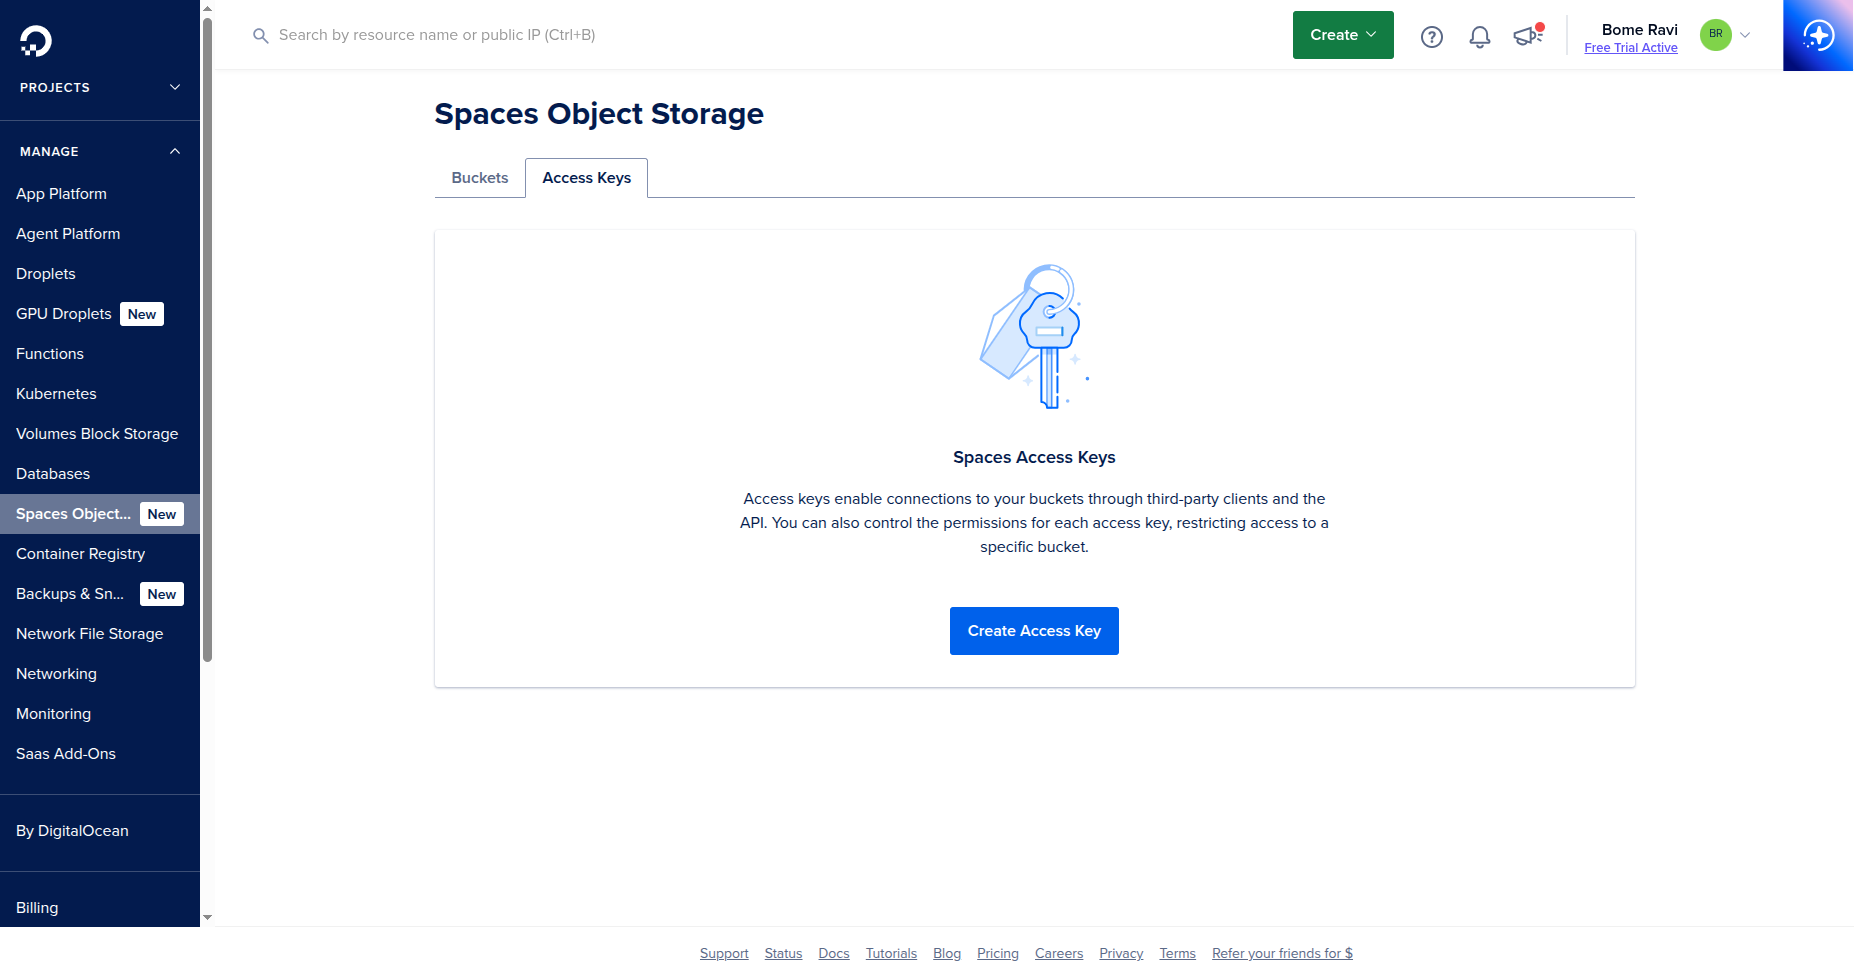
- Select access scope (
Limited AccessorFull Access) based on your app needs. - Name the key and click
Create Access Key.
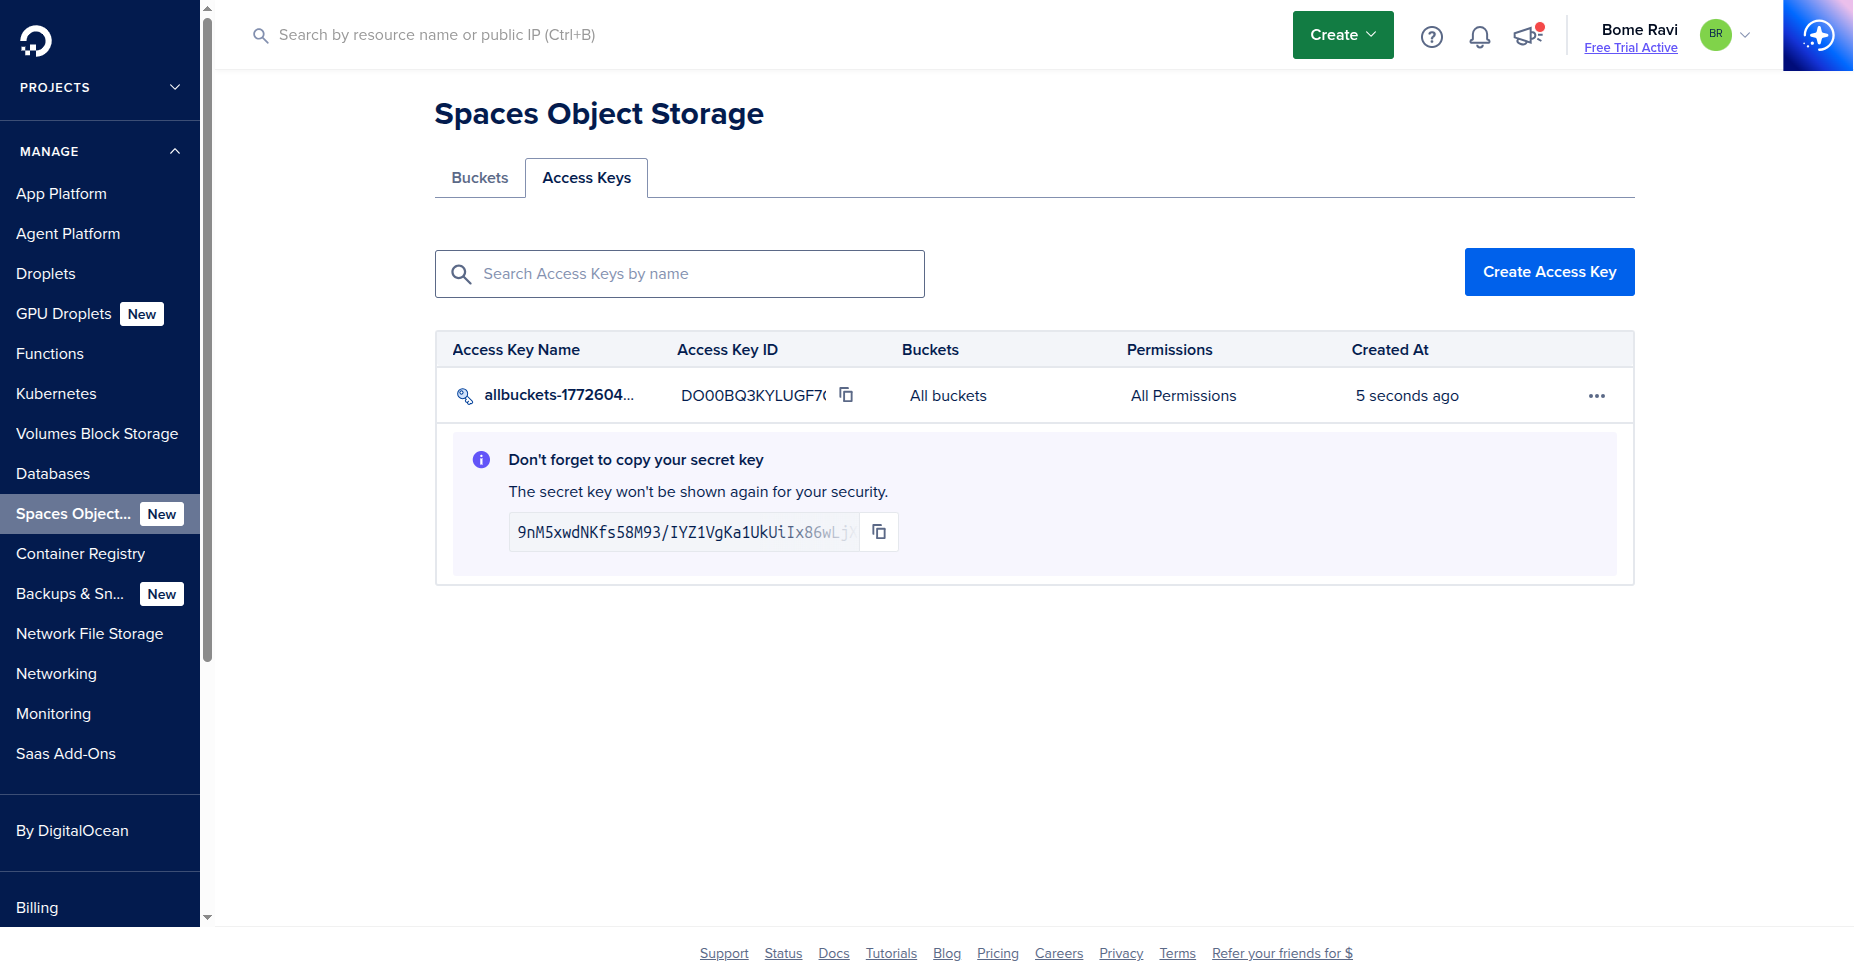
- Save:
Access KeySecret Key(shown once)
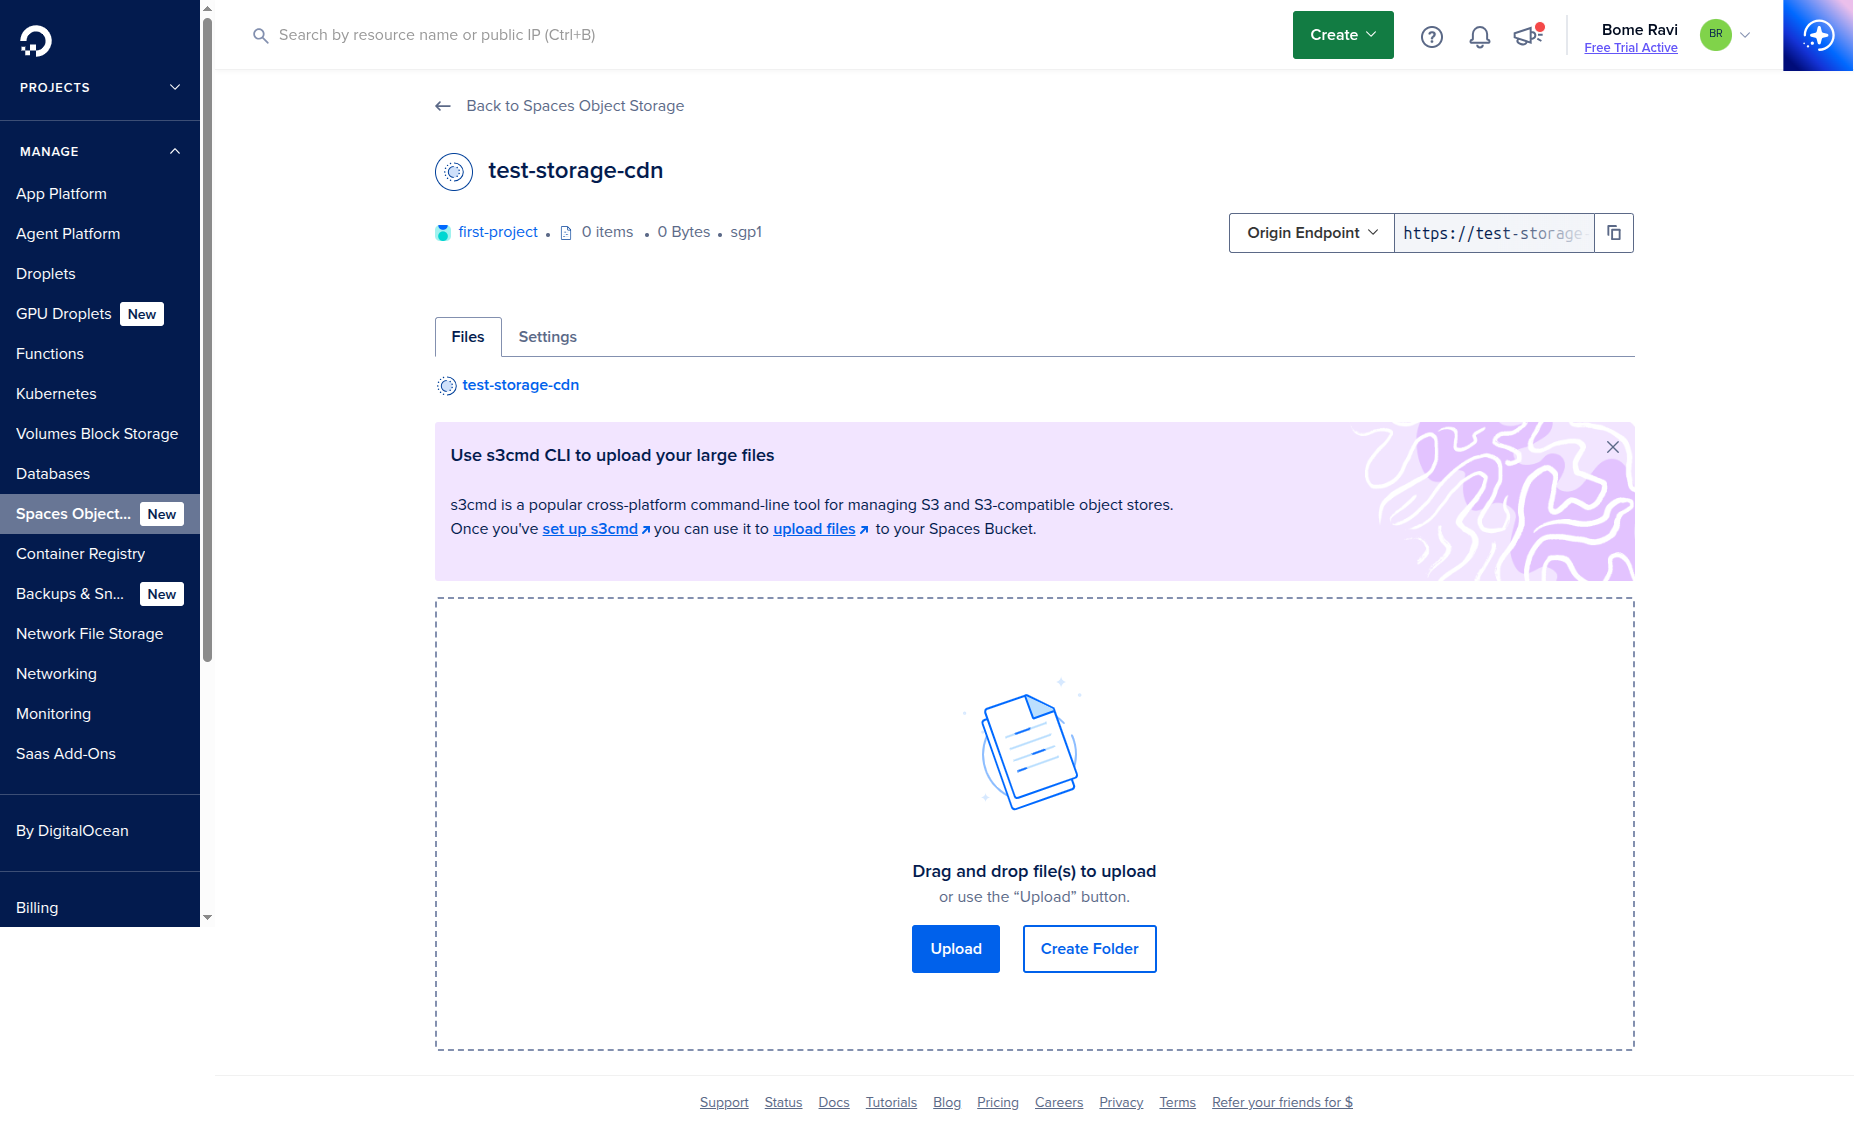
4. Test Access from Browser
- Open your bucket from the
Bucketstab. - In the
Filestab, clickUpload. - Select a small test file from your computer.
- Confirm the file appears in the bucket list after upload.
5. App Configuration
Set these environment variables in your app/deployment:
SPACES_KEY=<ACCESS_KEY>
SPACES_SECRET=<SECRET_KEY>
SPACES_BUCKET=<SPACE_NAME>
SPACES_REGION=<REGION>
SPACES_ENDPOINT=https://<REGION>.digitaloceanspaces.com
6. Optional: Public File Access
- Keep bucket private by default.
- Use signed URLs for protected files.
- For public assets (images/css/js), configure bucket policy or per-object ACL carefully.
7. Optional: CDN
- Open your Space settings.
- Enable CDN endpoint if you need global caching.
- Update your app asset URL base to CDN URL.
Next Step
- If your app server is a Droplet, complete Droplet setup first.