Kubernetes on DigitalOcean (DOKS)
Last updated: March 4, 2026
This guide follows the DigitalOcean UI flow to create and connect a Kubernetes cluster.
All screenshots are loaded from digitalocean/images/kubernetes/.
Prerequisites
- DigitalOcean account with billing enabled
- A project where the cluster will be created
- A terminal/Droplet where you can run
doctlandkubectl
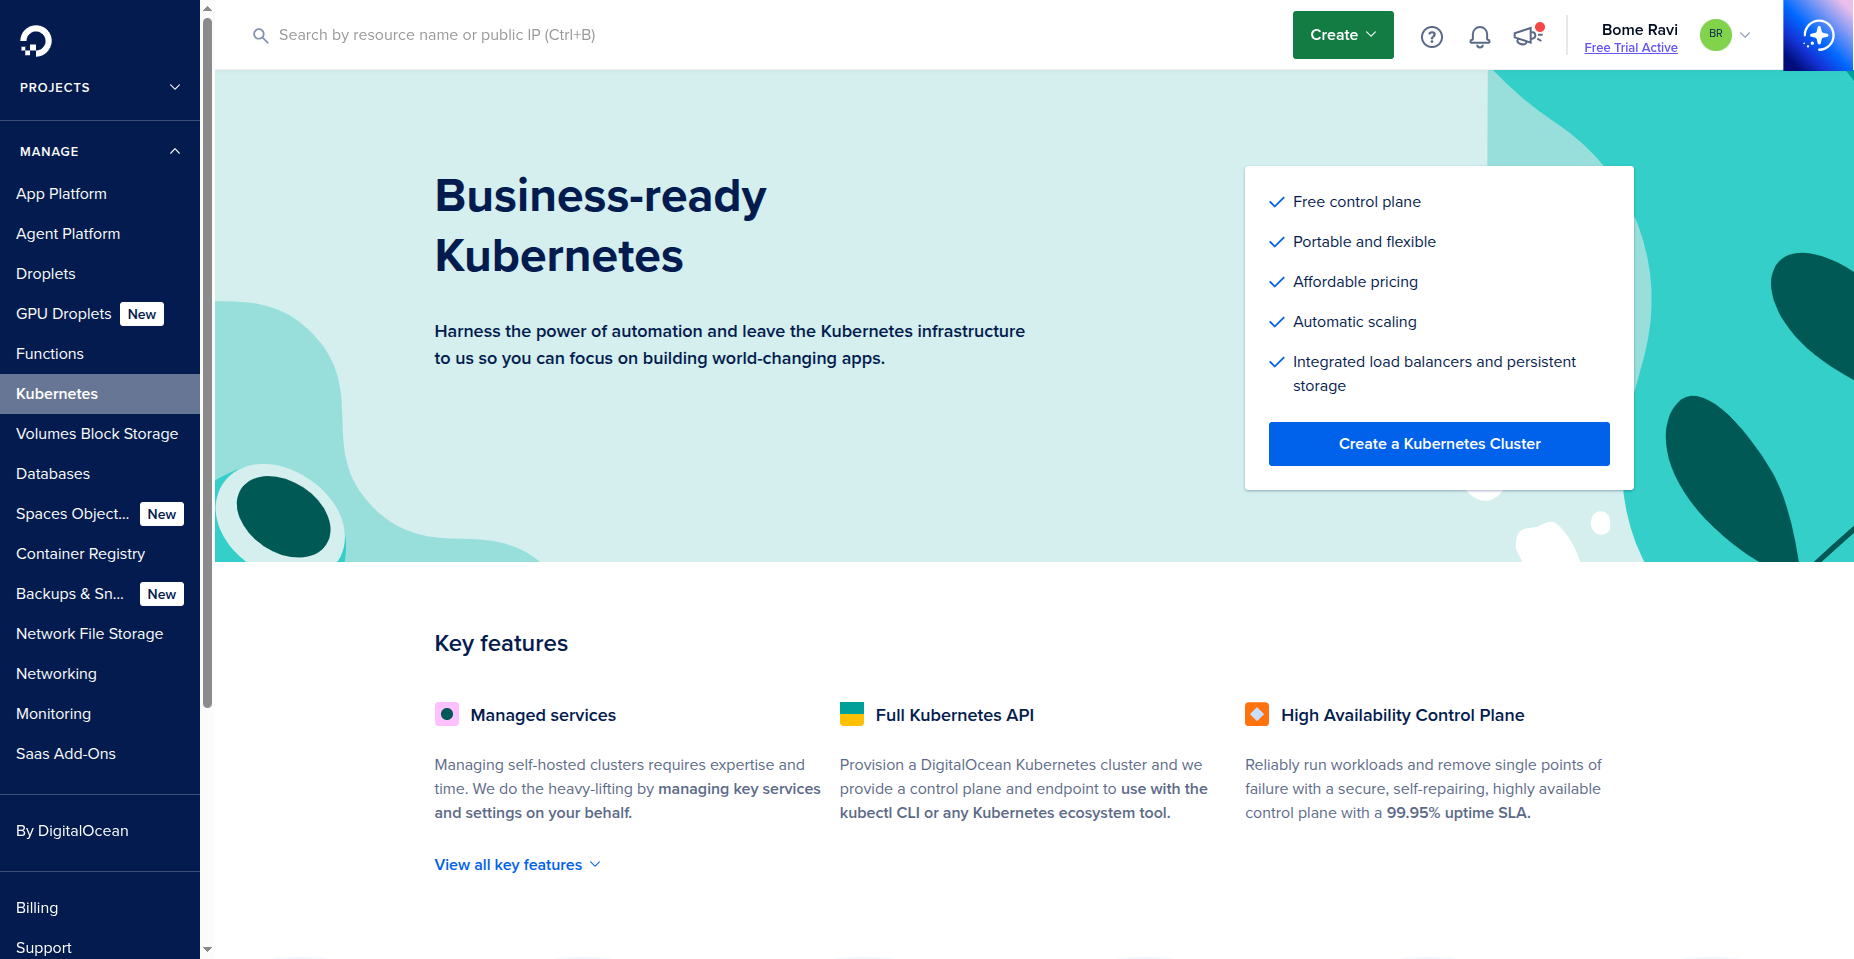
1. Open Kubernetes and start cluster creation
- Open DigitalOcean dashboard.
- Go to
Kubernetesand clickCreate a Kubernetes Cluster. - You can also click
Createfrom the top menu, then selectKubernetes.
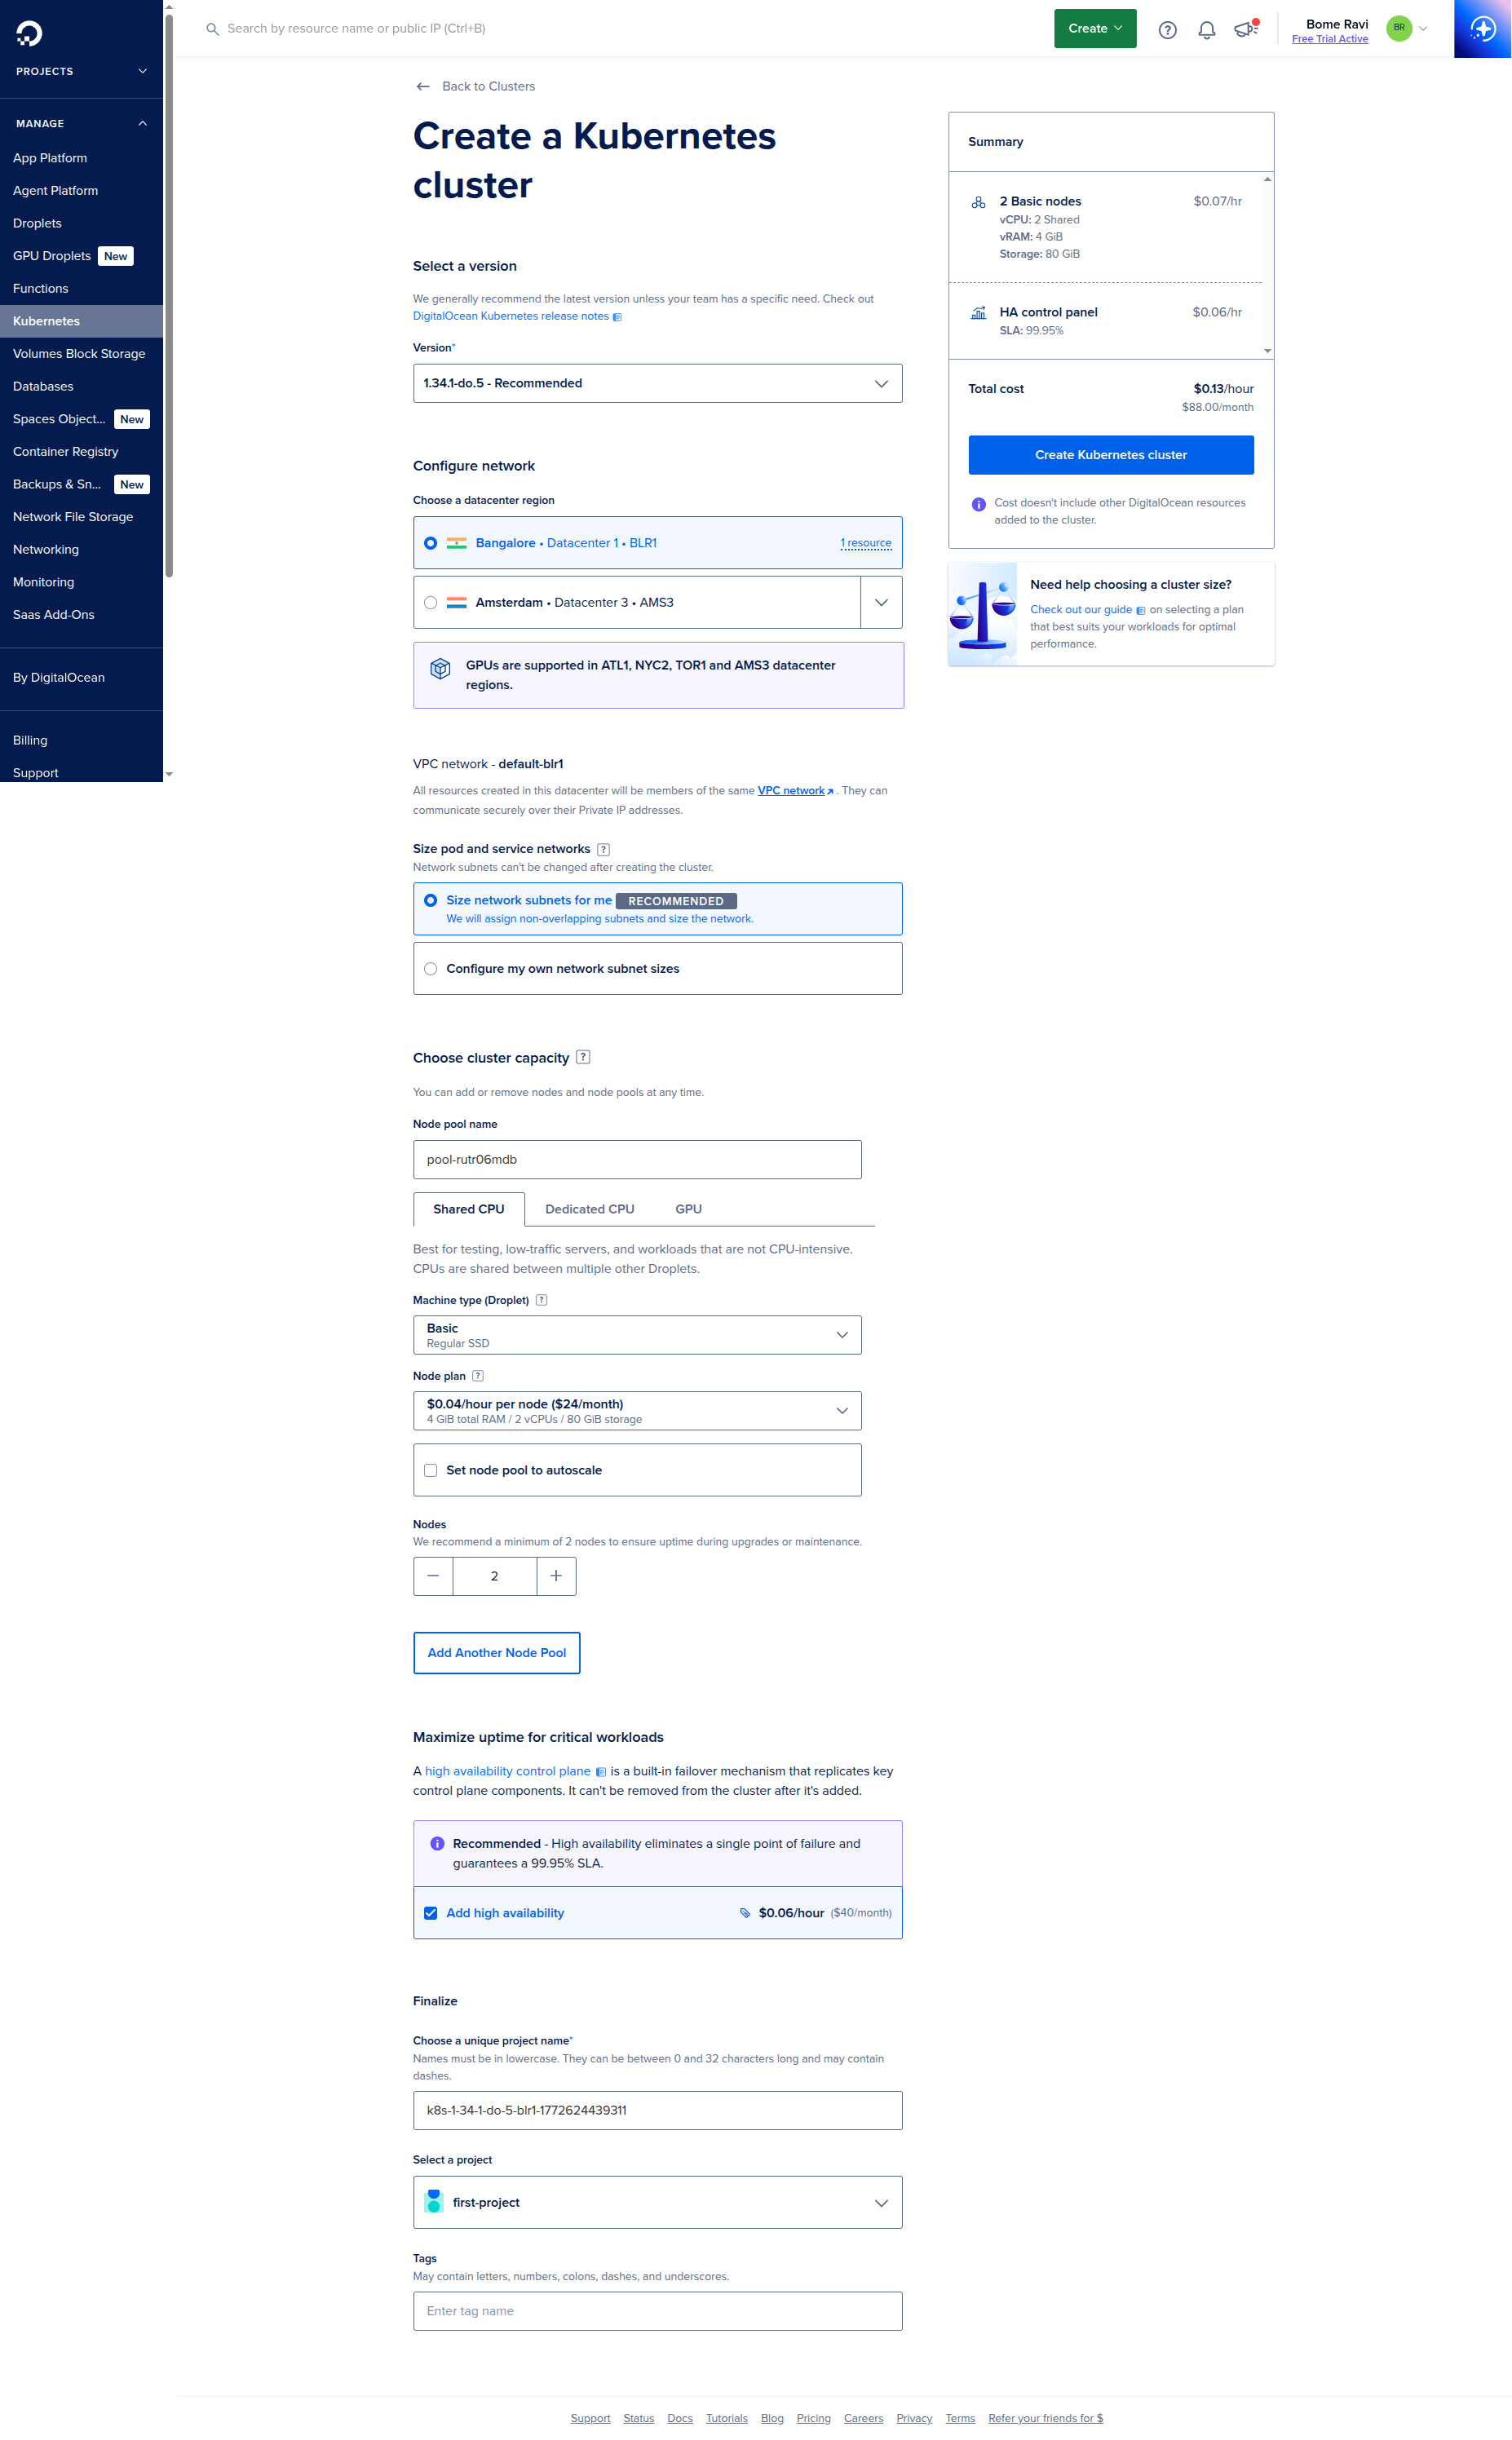
2. Create Kubernetes Cluster
- Configure cluster options.
- If needed, enable
High Availability. - Choose droplet/node plan.
- Click
Create Kubernetes Cluster. - Wait until cluster provisioning is complete.
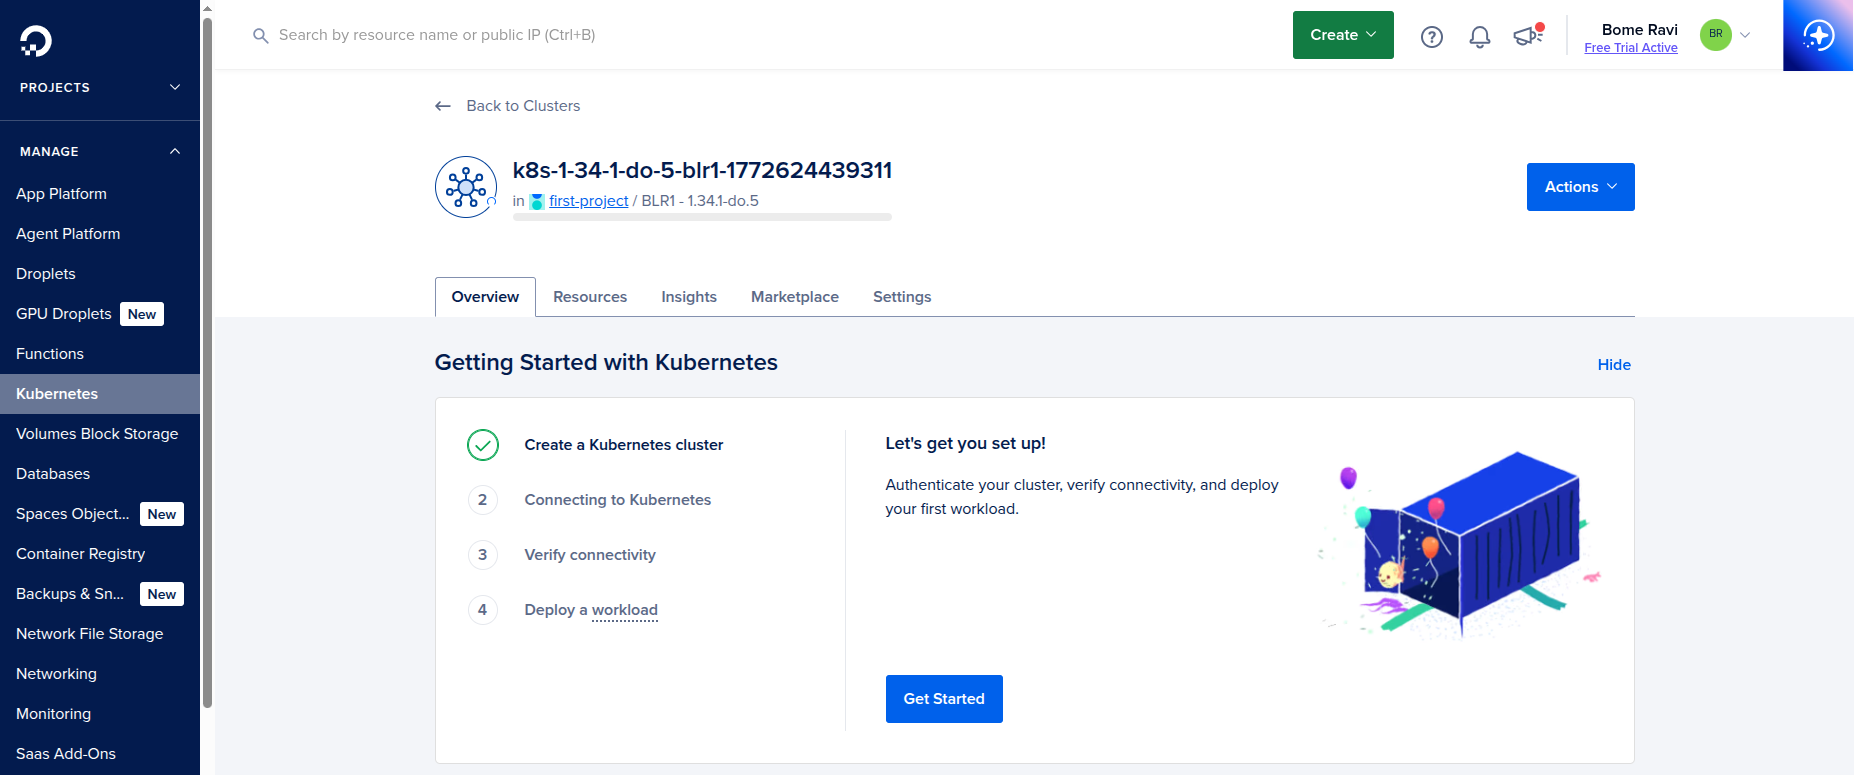
3. Open cluster details
- After creation, open the cluster details page.
- In the guided setup flow, click
Next.
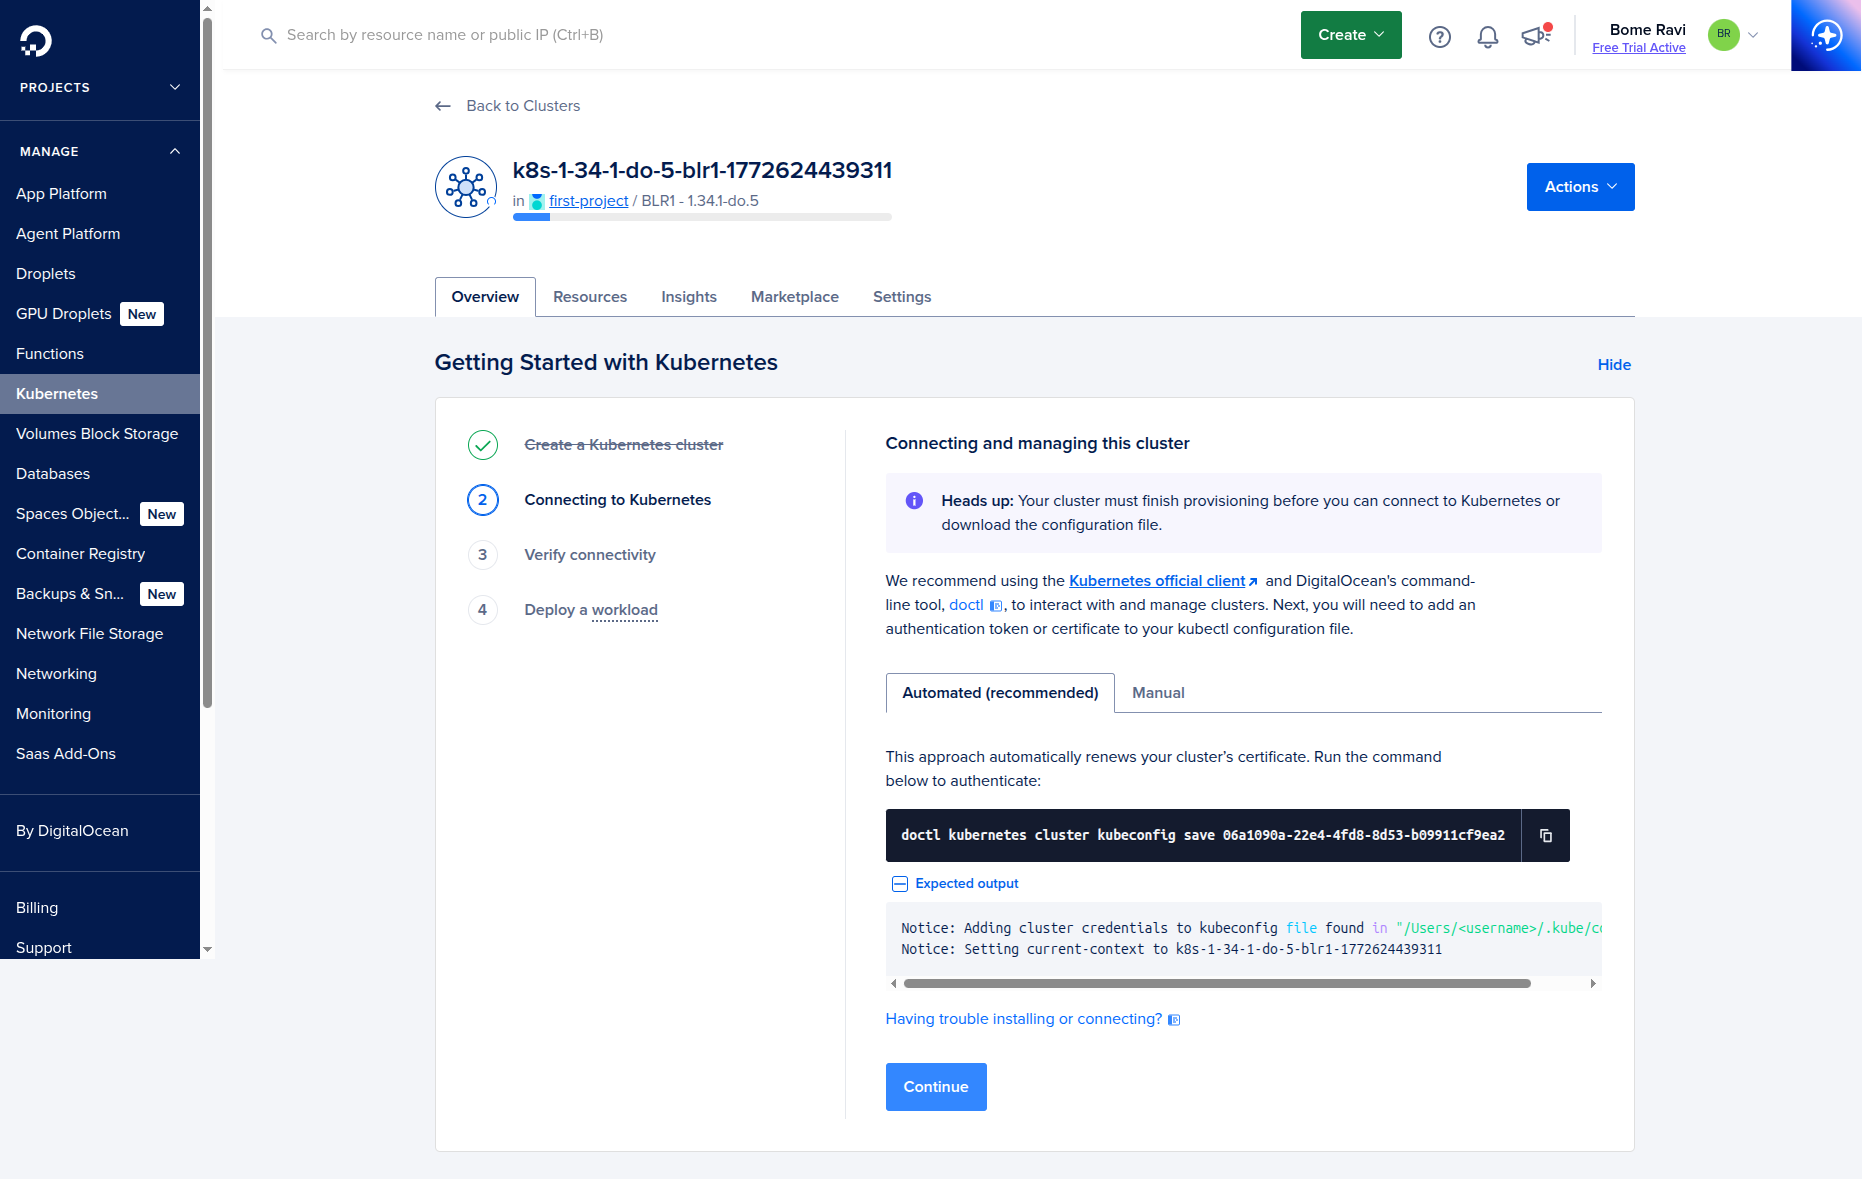
4. Connect cluster (Droplet + doctl + kubectl)
- Create or use a Droplet/terminal machine for cluster access.
- Install
doctlon that machine. - Install
kubectl:
curl -LO "https://dl.k8s.io/release/$(curl -L -s https://dl.k8s.io/release/stable.txt)/bin/linux/amd64/kubectl"
sudo install -o root -g root -m 0755 kubectl /usr/local/bin/kubectl
kubectl version --client
- Run the exact command shown by DigitalOcean on this screen (kubeconfig save command).
- After the command succeeds, click
Continue.
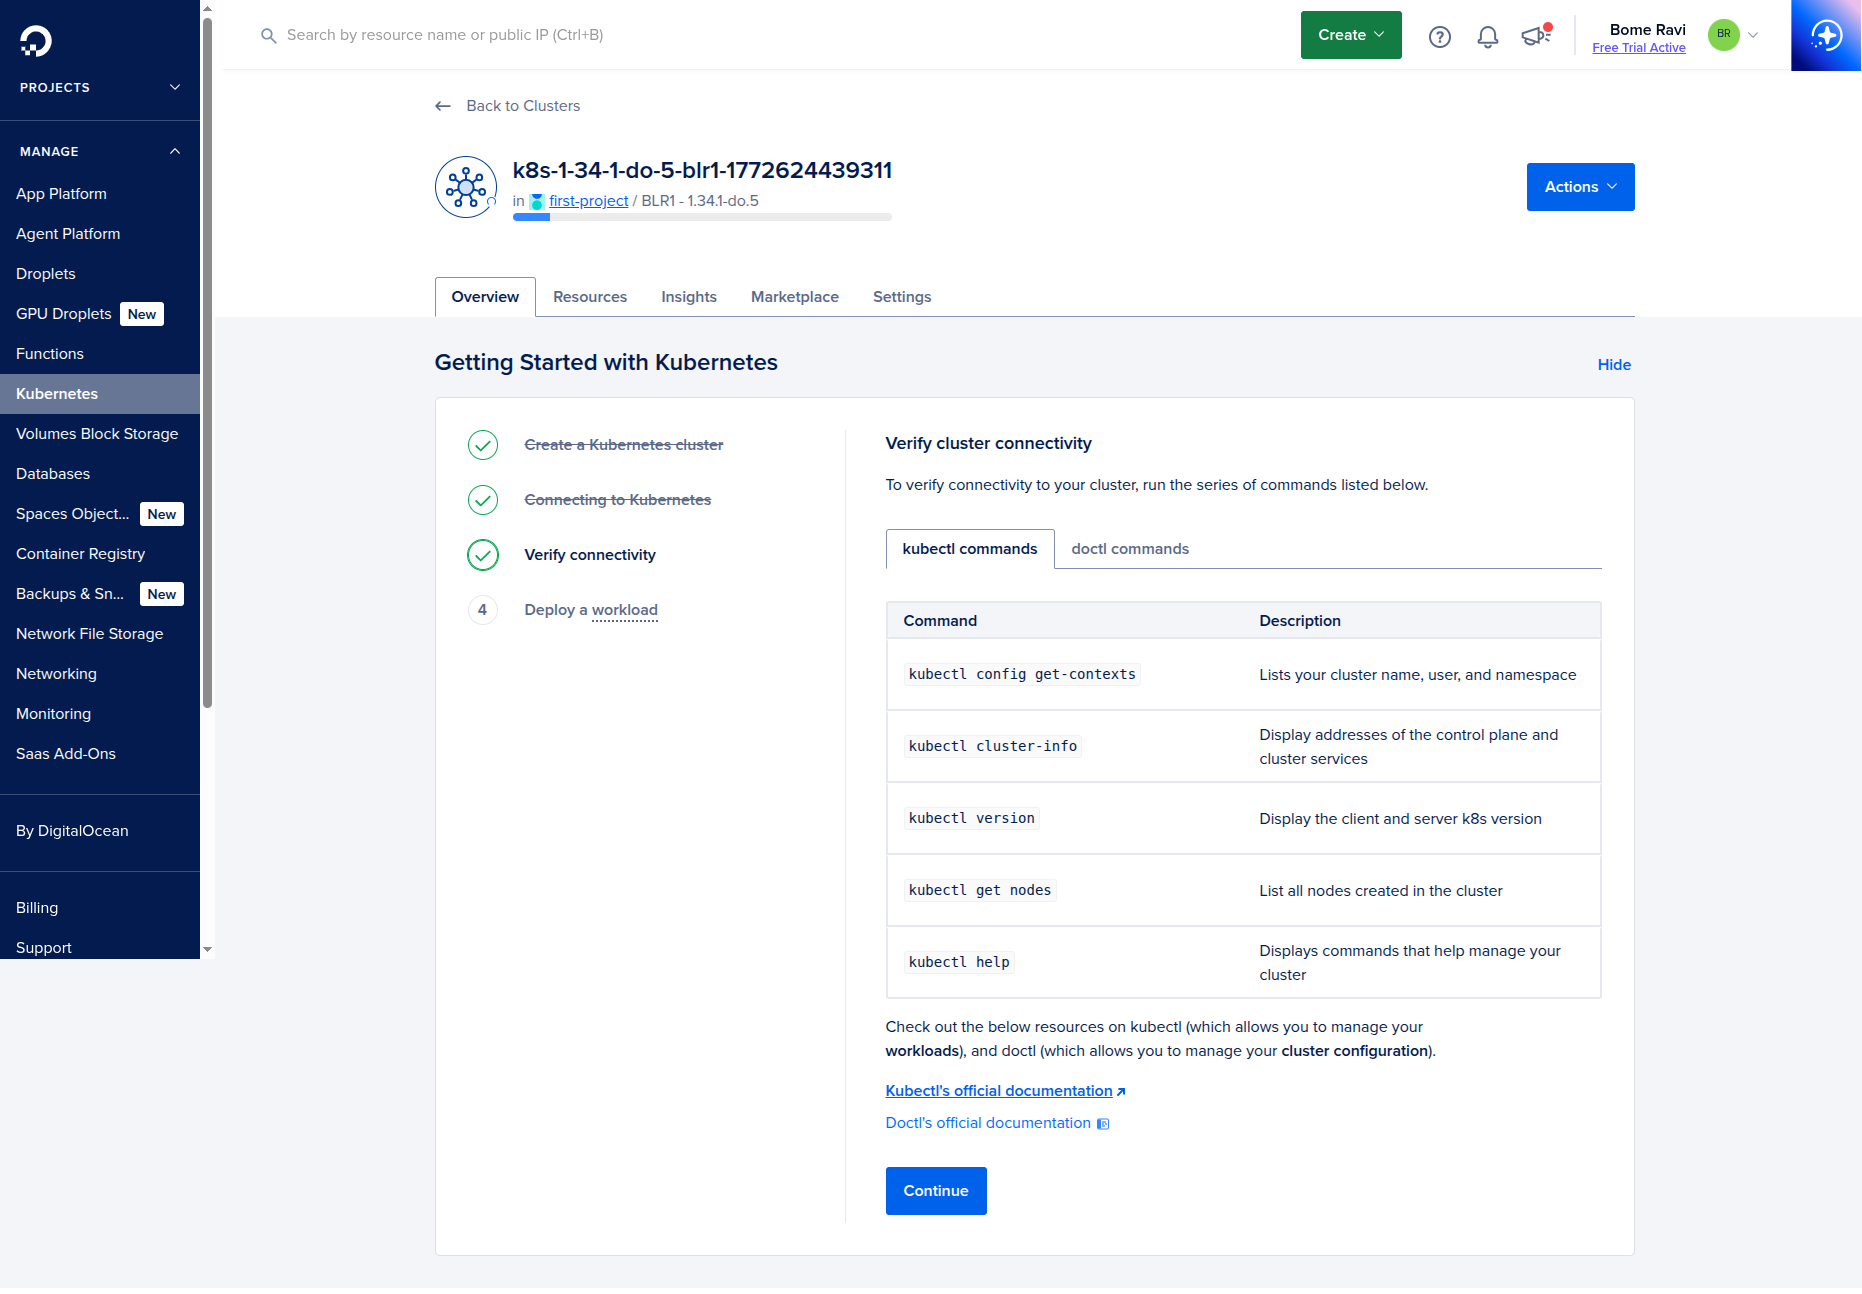
5. Verify kubectl and continue
- Verify access from terminal:
kubectl get nodes
kubectl get ns
- If the cluster and nodes are visible, click
Continue.
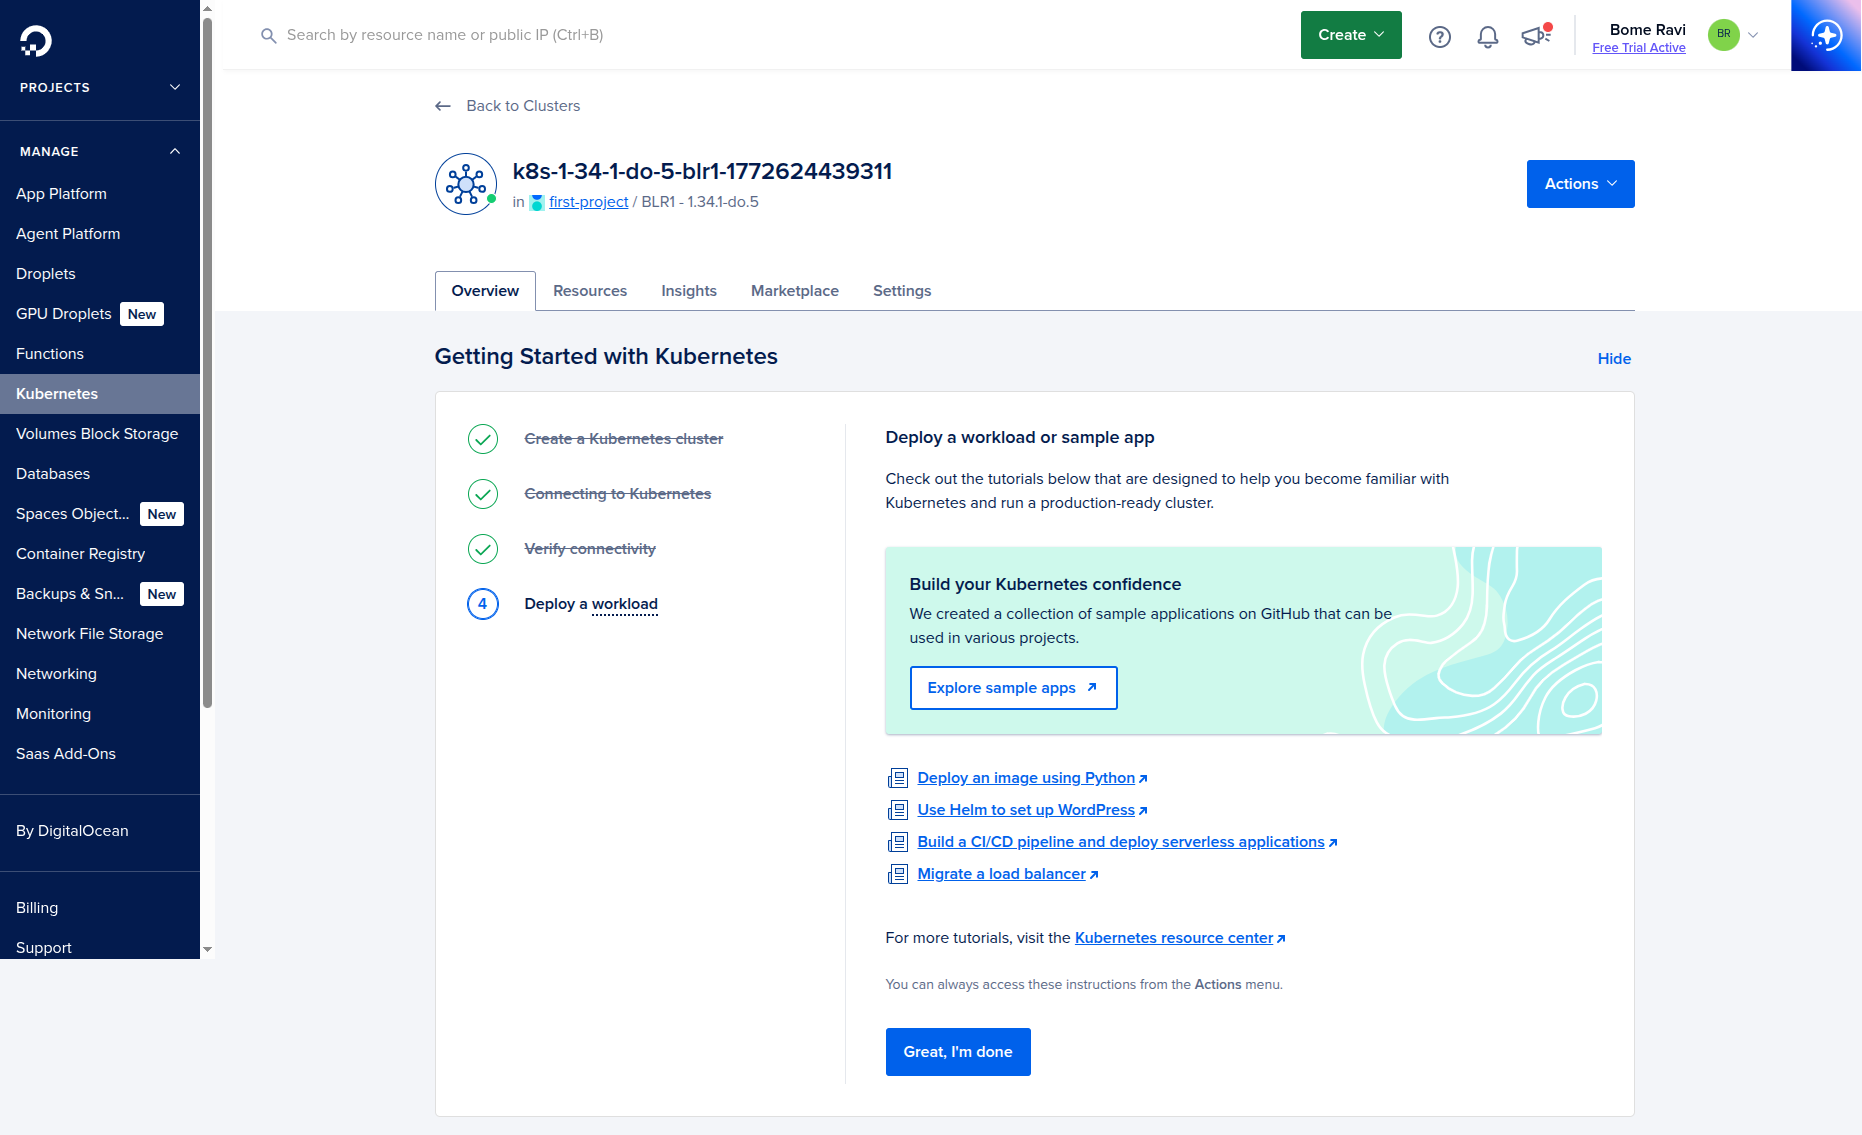
6. Deployment complete
- On the deployment complete screen, click
Great, I am done.
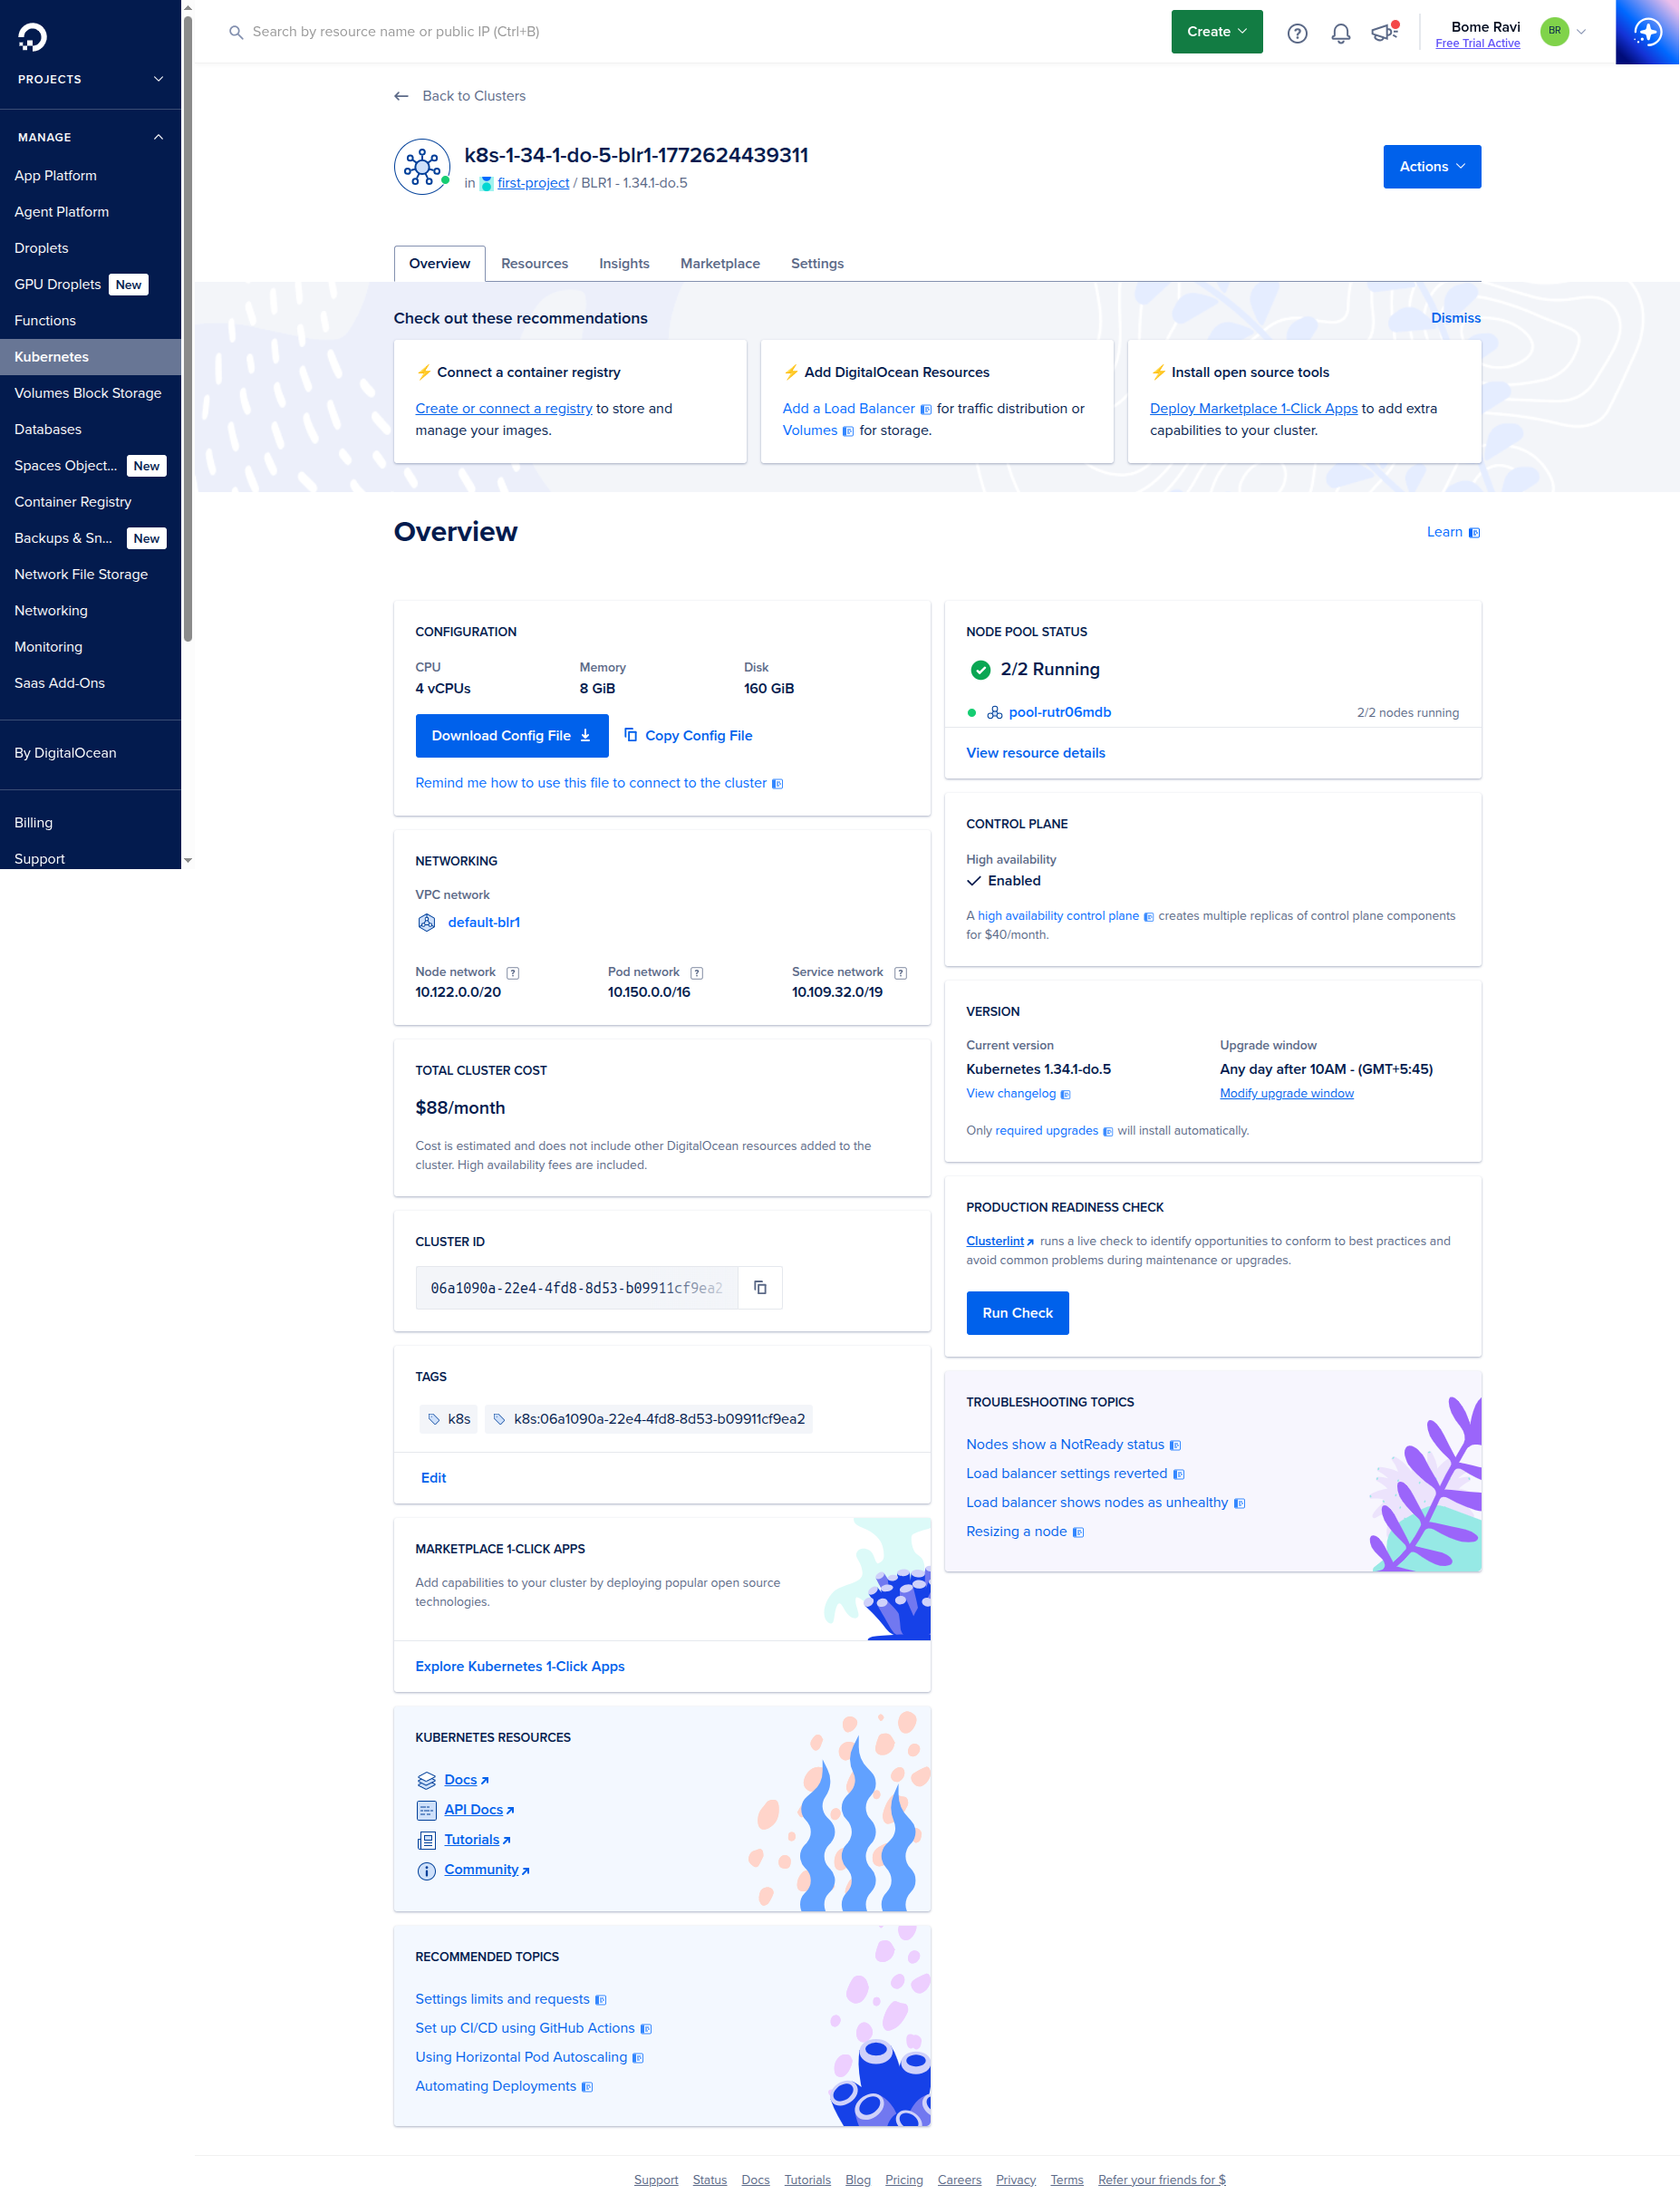
7. Final cluster detail page
- You will land on the final cluster detail page.
- From here, you can manage node pools, upgrades, networking, and access settings.
Next Step
- Continue with Kubernetes installation and commands.